How to Design Open Spaces: Zoning an Open-Plan Home Without Walls
Audio Summary
Learning how to design open spaces starts with one idea: an open plan is not one room, it is several rooms sharing the same floor. Without walls, the living area, the dining area, and the kitchen blur into one large space where nothing feels finished. Zoning fixes that, giving each activity its own place and anchor while keeping the light and flow that made you choose an open plan. It uses rugs, furniture, lighting, colour, and screens to tell the eye where one zone ends and the next begins.
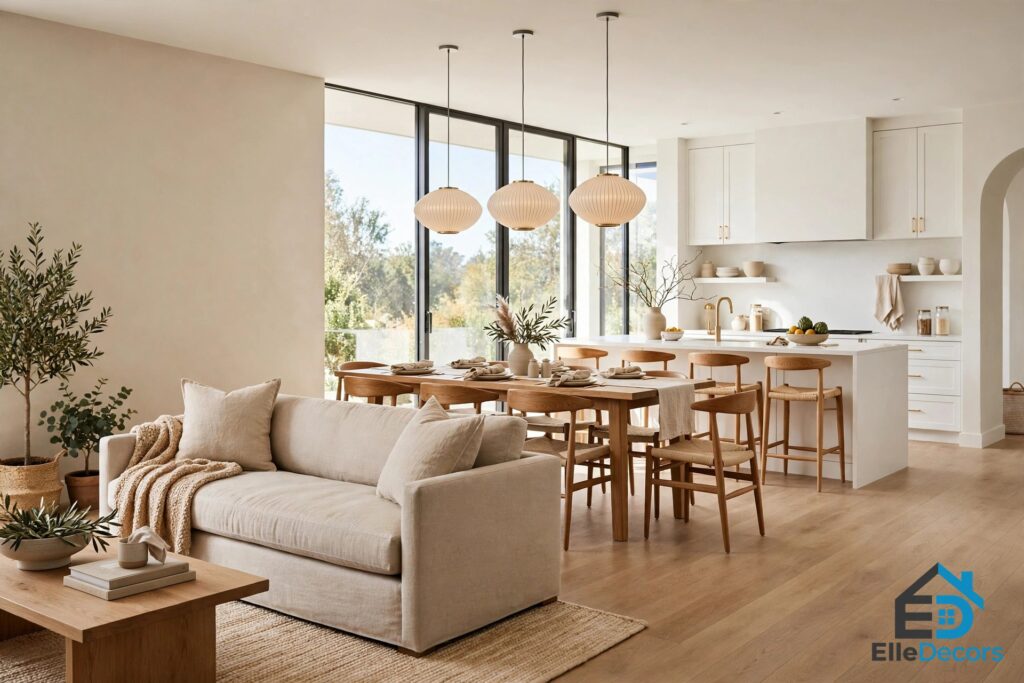
How to Design Open Spaces: Start With a Plan
Before you move a single piece of furniture, decide what the room has to do. List the activities that happen there: cooking, eating, relaxing, working, guests gathering. Most medium-to-large open rooms comfortably fit two primary zones, such as lounging and dining, plus one compact secondary nook. Pick two or three core zones based on real daily habits, not an aspirational floor plan, and give the rest of the floor to breathing room.
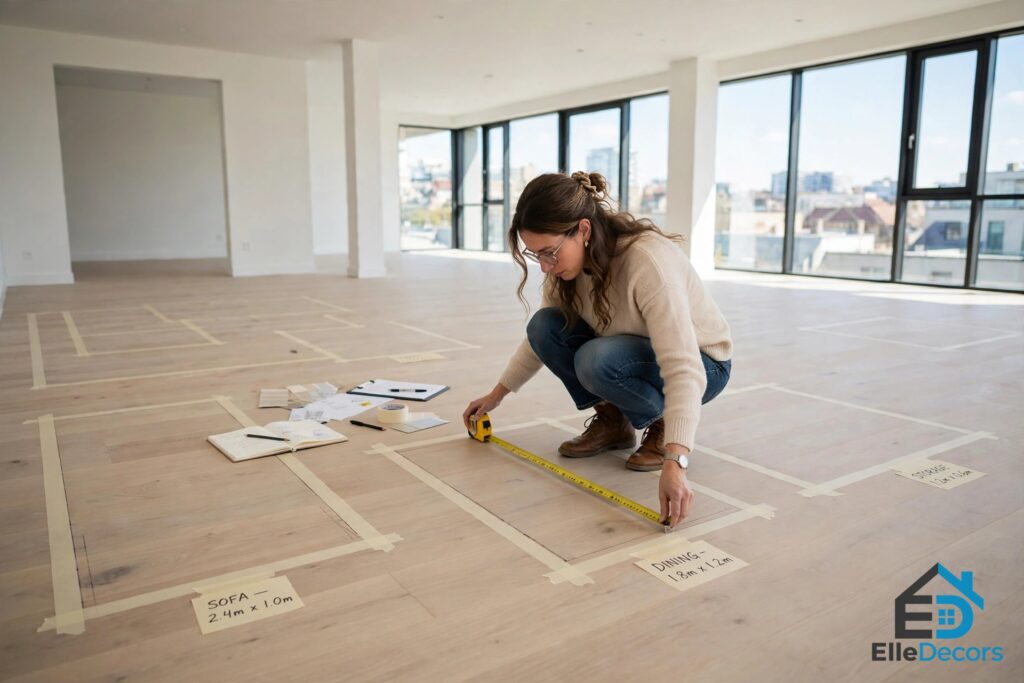
Then measure the room and mark the plan on the floor with painter’s tape: the main traffic paths, then the exact corners of your planned rugs, sofa, and dining table. Walk the routes. An hour testing footprints with tape prevents costly sizing mistakes. Good open plan zoning starts here, on the floor, before any shopping. Keep primary walkways between zones 30 inches wide at minimum, and 36 inches where you can, which matches the U.S. Access Board’s 36-inch clear-width standard. Secondary paths inside a zone can be 24 to 30 inches. Never block exits, door swings, or vents, and route walkways around seating groups instead of through them. Order the zones well: the living zone works best furthest from the kitchen, with the dining zone between the two acting as a connector.
Rugs: The Floor-Level Boundary
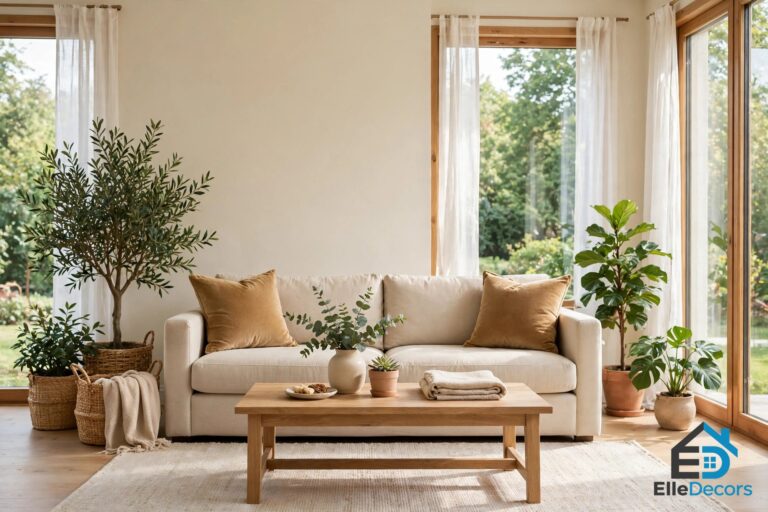
Rugs are the simplest zoning tool, and they cost nothing to rearrange. A large, soft rug instantly defines a living area, creating a sense of place within the larger space. A rug under the dining table grounds it, and a small rug can carve out a reading corner.
Size matters more than pattern. For the living zone, choose an 8-by-10-foot or 9-by-12-foot rug so at least the front legs of the sofa and every accent chair sit on it. The dining rug must extend at least 24 inches past every table edge, so chair legs stay on it when pulled out: add 48 to 60 inches to the table’s length and width. A 72-by-36-inch table needs a rug close to 8 by 10 feet, and a low-pile rug under half an inch thick lets chairs slide easily. Leave 24 to 36 inches of bare floor visible between rugs, and coordinate them by tone rather than matching patterns. The question of how to design open spaces often comes down to this one move: give each zone its own rug, and the room starts to read as rooms.
Furniture: The Sofa Is Your Best Wall
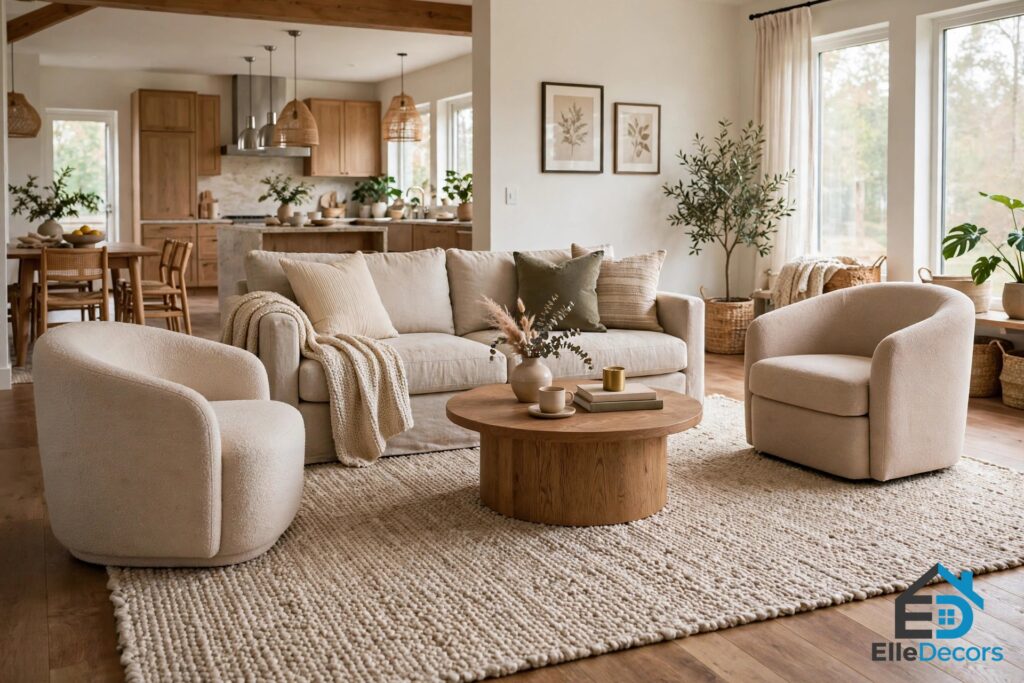
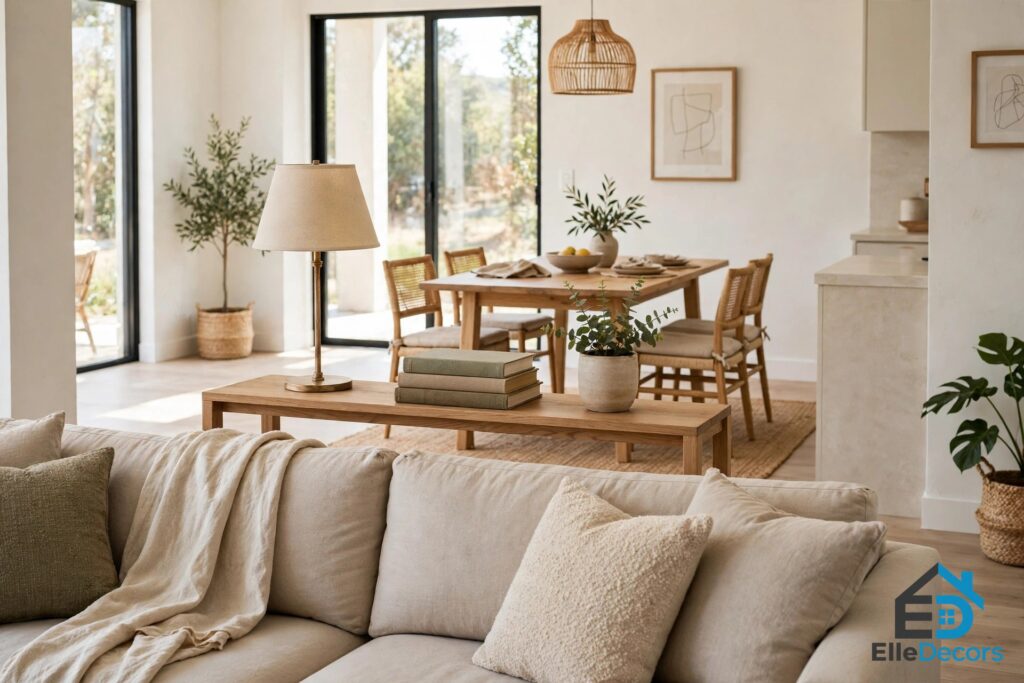
Furniture placement is the most powerful zoning tool you own, because the pieces you already have can become walls that never block light. The sofa is the single most effective piece: float it away from the perimeter walls and turn its back toward the dining area or kitchen, and it immediately signals where the living zone begins. Furniture pushed flat against the walls is what creates the empty, echoing feeling people complain about in open plans.
Arrange the seating as a tight, inward-facing group: a sofa facing two accent chairs, with a coffee table pulling the grouping inward. Place the accent chairs 3.5 to 10 feet across from the sofa, and keep 14 to 18 inches between the sofa edge and the coffee table. Choose furniture that looks good from every side: in an open concept living room there is no “back” of the room. Mid-century pieces suit open plans well, with low profiles and tapered legs that read clearly from all angles. Our mid-century modern living room furniture guide covers the pieces that anchor a living zone without closing it off. The rule for how to design open spaces with furniture is simple: float it, face it inward, and let the backs of the big pieces draw the boundaries.
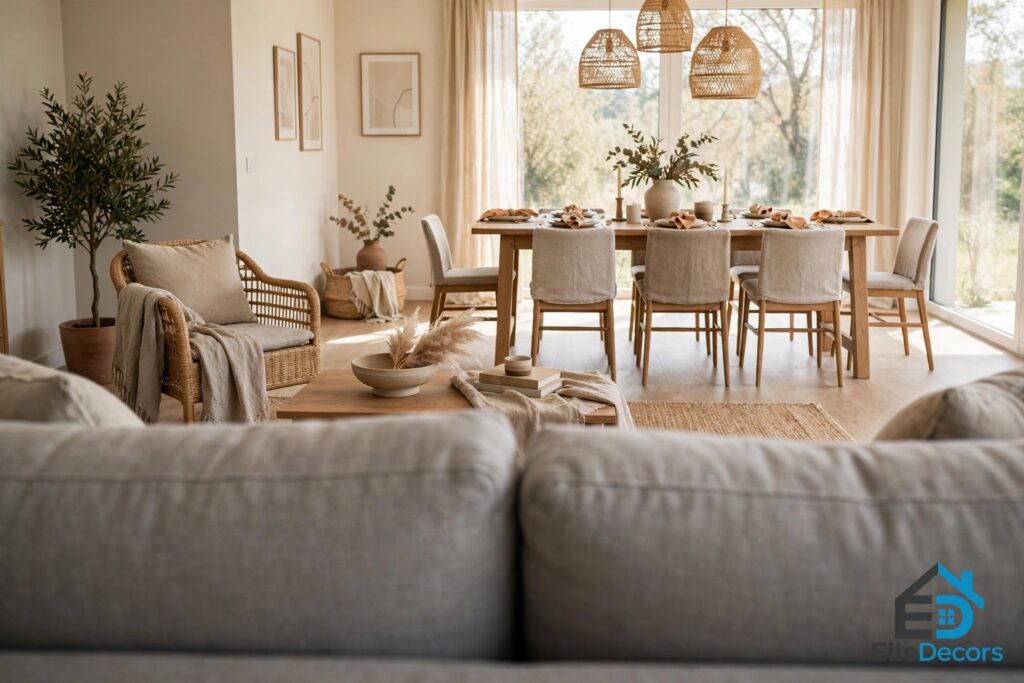
A slim console table behind a floating sofa is one of the most practical zoning moves there is. It hides the exposed upholstery, holds a lamp, books, and plants, and signals the shift from the living area to the dining area. Choose a console 12 to 16 inches deep that sits flush with, or 1 to 2 inches below, the back frame of the sofa, and keep its height close to the top of the sofa.
The Kitchen Island as a Natural Divider
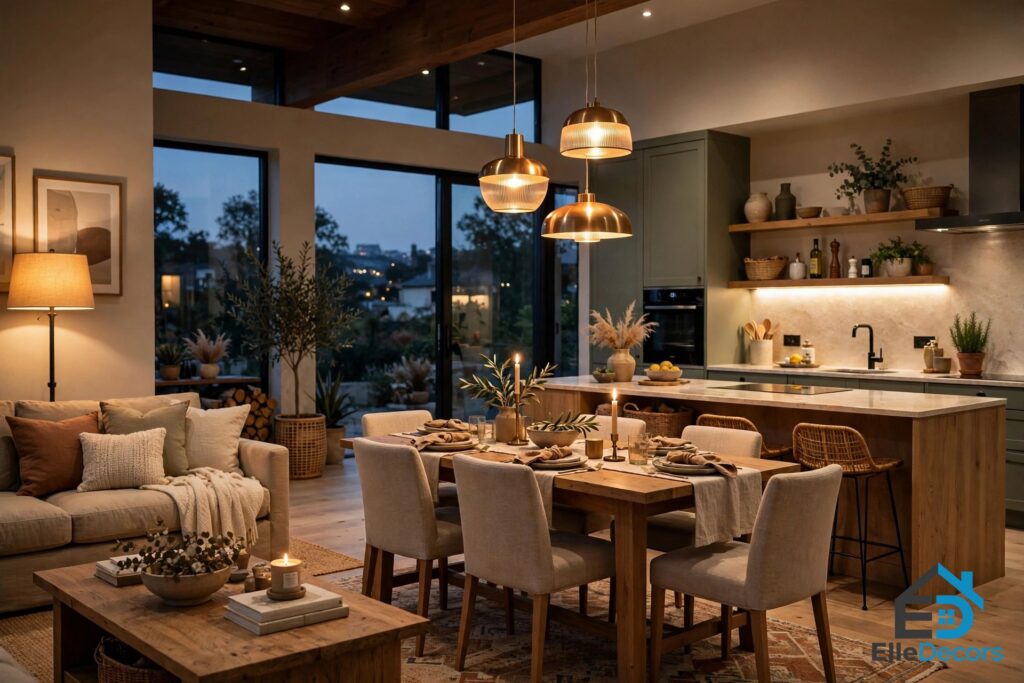
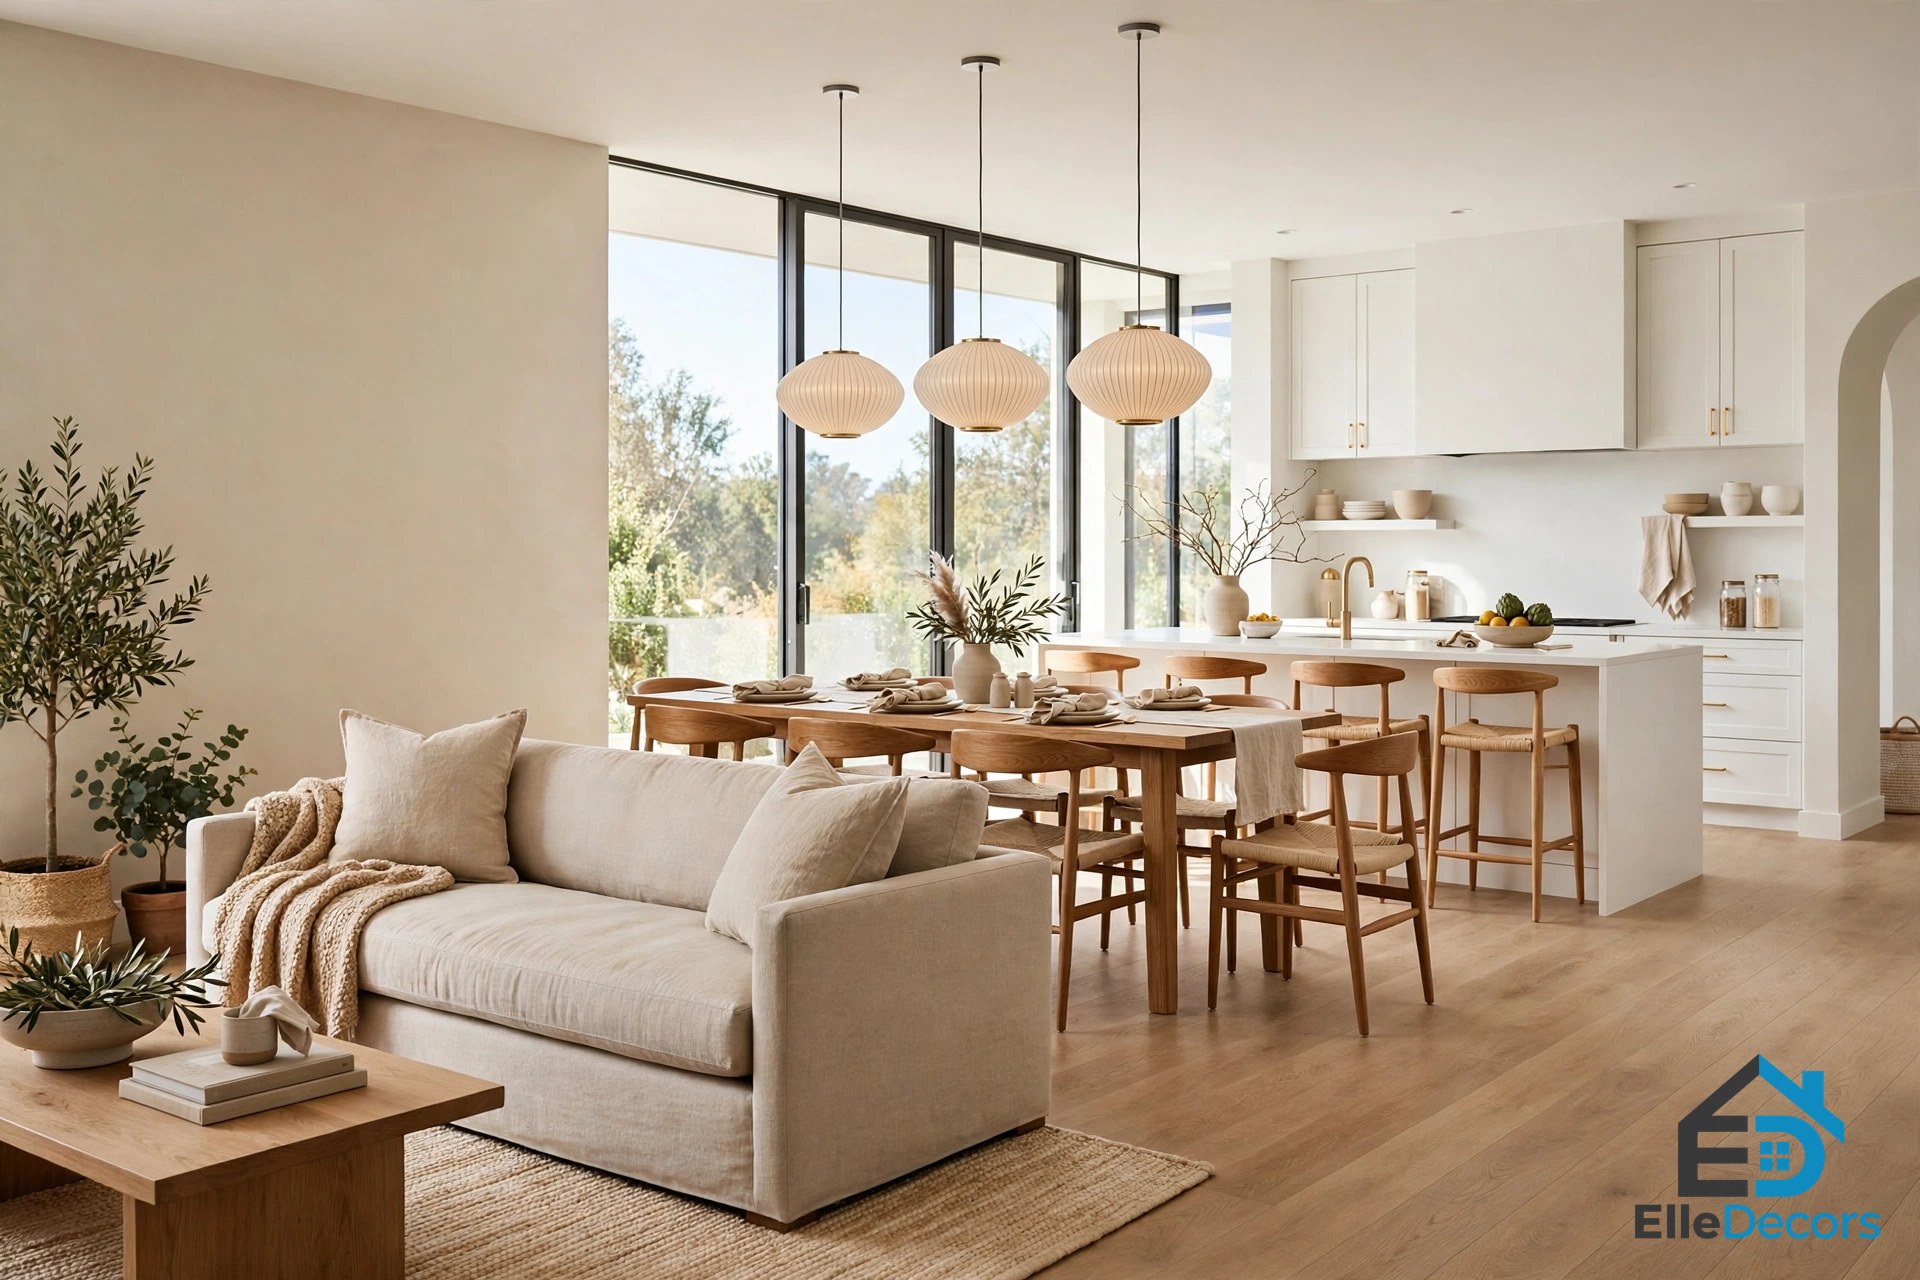
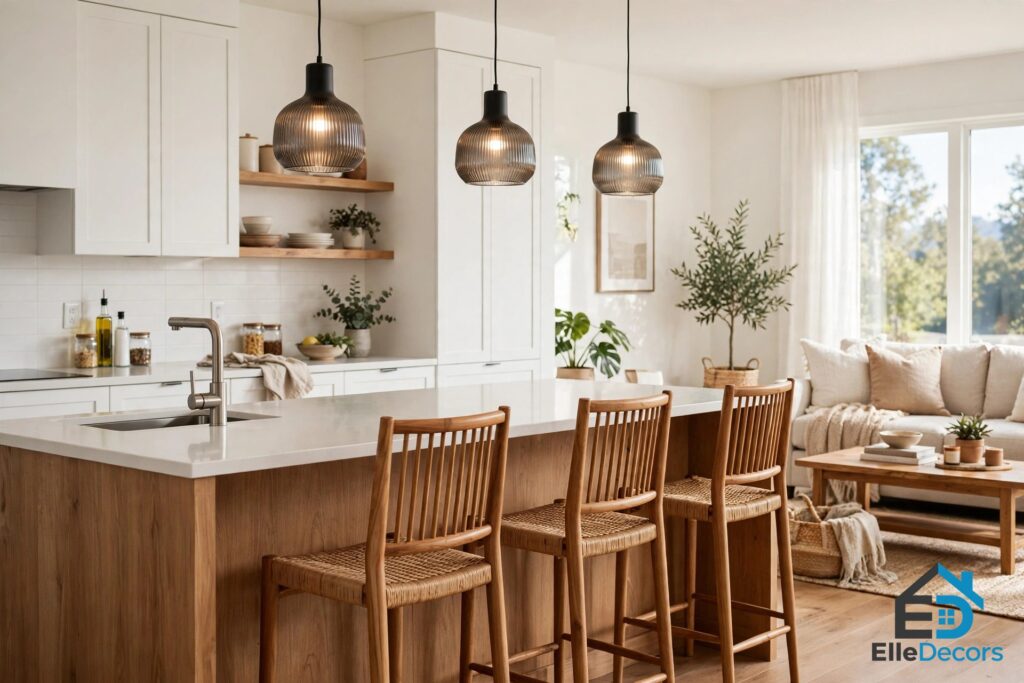
A kitchen island is a built-in zoning tool that naturally separates cooking and social spaces. It creates a functional boundary without closing off the room, marking where the kitchen ends and the living or dining area begins. Add bar stools for a casual dining zone, pendant lights for emphasis, or storage to make the boundary even more useful. Keep 36 inches minimum, and 42 to 48 inches ideally, between the island and the furniture of the next zone, so stools can pull out and appliance doors can open without a collision.
Lighting: Give Each Zone Its Own Light
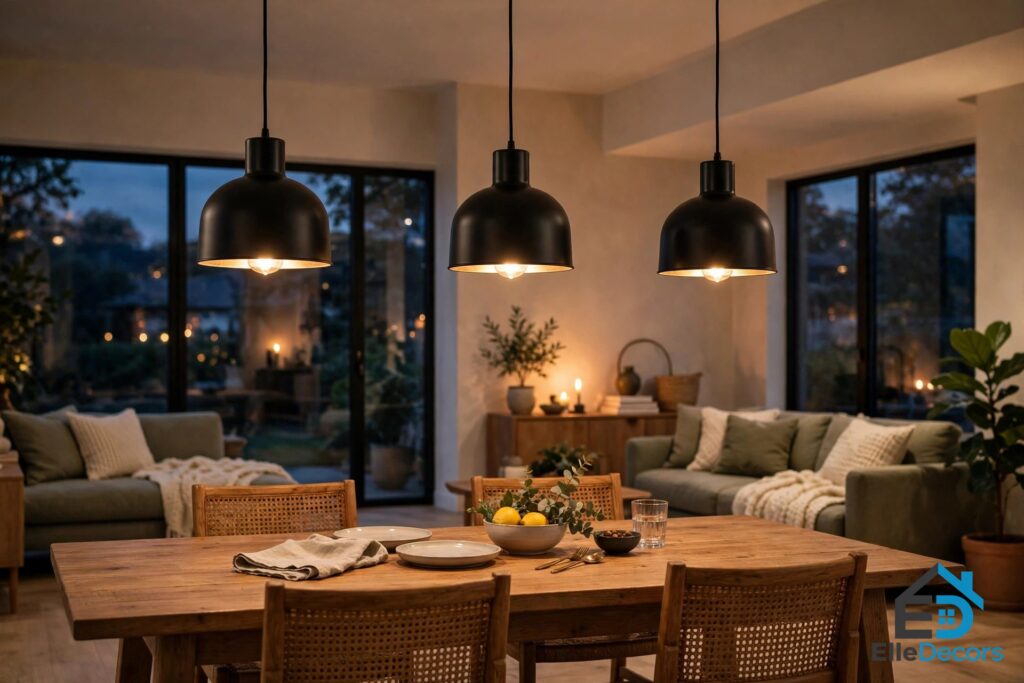
Lighting is one of the most effective ways to carve out zones in an open plan. A chandelier grounds the dining area, pendant lights define the kitchen island, and layered lamps bring warmth to the living space. Each zone should have its own lighting identity, but all the fixtures must feel connected in style or tone. Light each zone independently: when the ceiling lights are dimmed and the dining pendant is lit, the table becomes its own room.
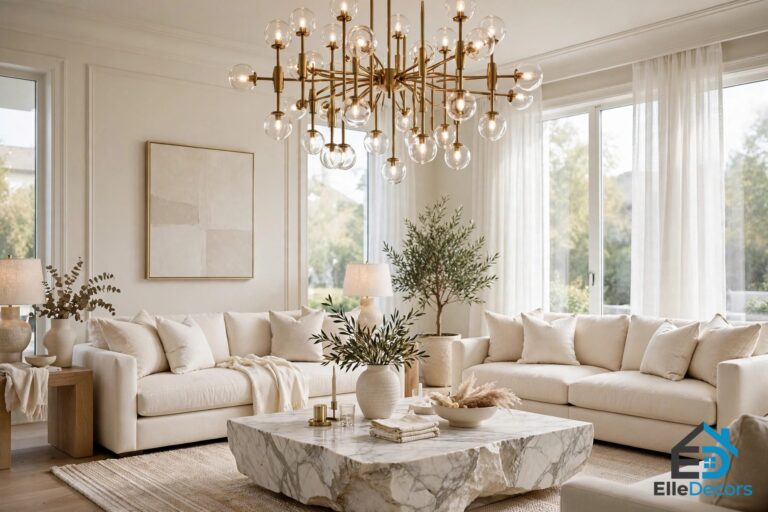
Size the dining fixture to the table, not the room. A chandelier or pendant should span one-half to two-thirds of the table’s width: over a 42-inch-wide table, that means roughly 21 to 28 inches across. Hang the bottom of the fixture 30 to 36 inches above the tabletop on a standard 8-foot ceiling, adding about 3 inches for every extra foot of ceiling height. Anywhere people walk under a fixture, keep at least 7 feet of clearance from the floor to its lowest point, and centre the fixture over the table rather than over the room. Layer the living zone too: a floor lamp and a table lamp on dimmers give bright mornings and low evenings. The dining zone earns its own pendant for the same reason the living zone earns its rug: the light marks the place. Our dining room inspiration guide covers the layouts and lighting heights that make a dining area feel designed. When every zone has its own light, the question of how to design open spaces answers itself after sunset: the lit zones are the rooms.
Screens, Bookcases, and Curtains: Soft Walls
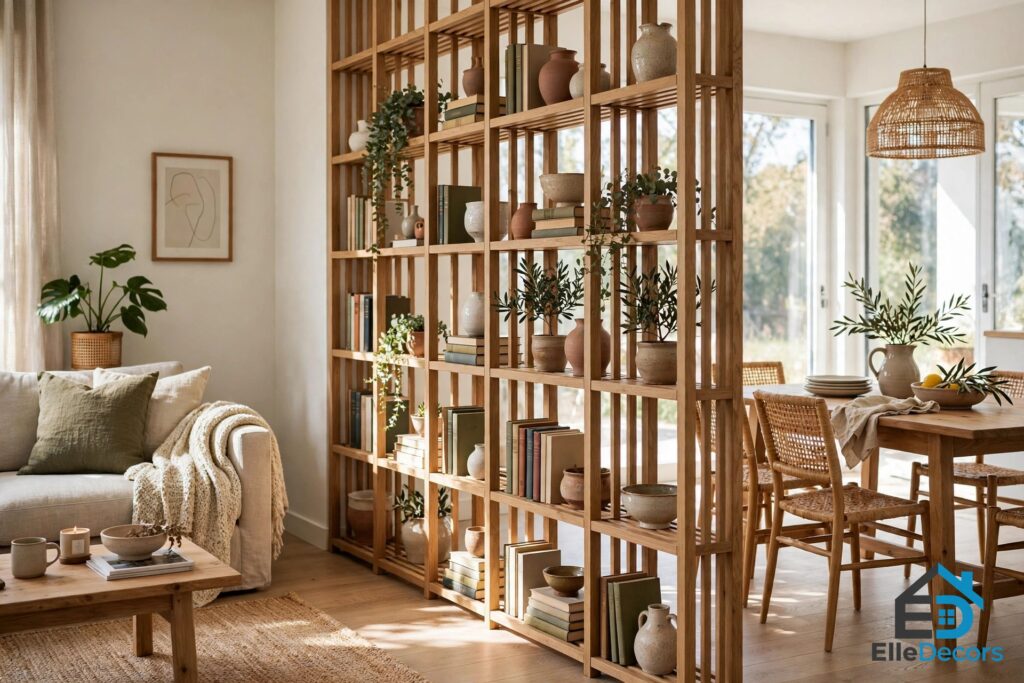
When you want more separation than furniture alone can give, soft walls do the job without building anything permanent. An open bookcase placed between the living and dining areas adds structure without blocking views, and a full-height unit can create a semi-private workspace or reading corner. Keep 30 to 40 percent of the shelf cubbies open so light still flows through, and style the shelves with books, ceramics, and greenery.
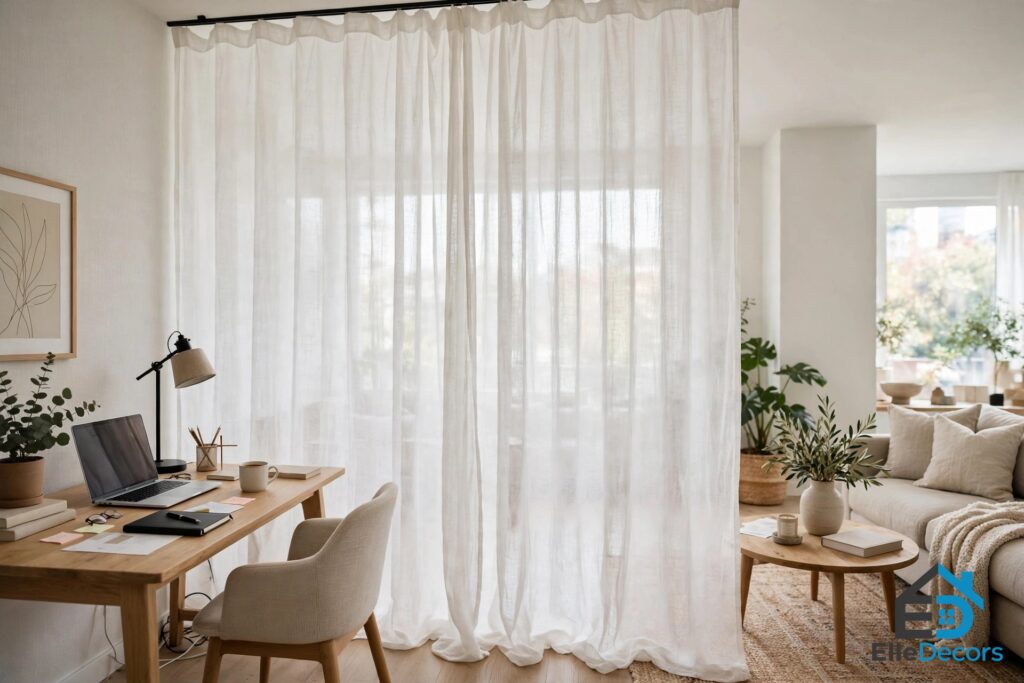
Curtains are the most flexible divider of all. Sheer curtains, linen panels, or sliding fabric screens hung from a ceiling track can frame a dining area, separate a workspace, or soften the transition between kitchen and living room. Open them for flow, close them for intimacy: it is open plan zoning that adapts to your mood. Floor-to-ceiling curtains are cheaper than sliding walls or doors, and they are ideal for renters, because they leave no mark when they come down.
Colour and Finishes: One Palette, Different Moods
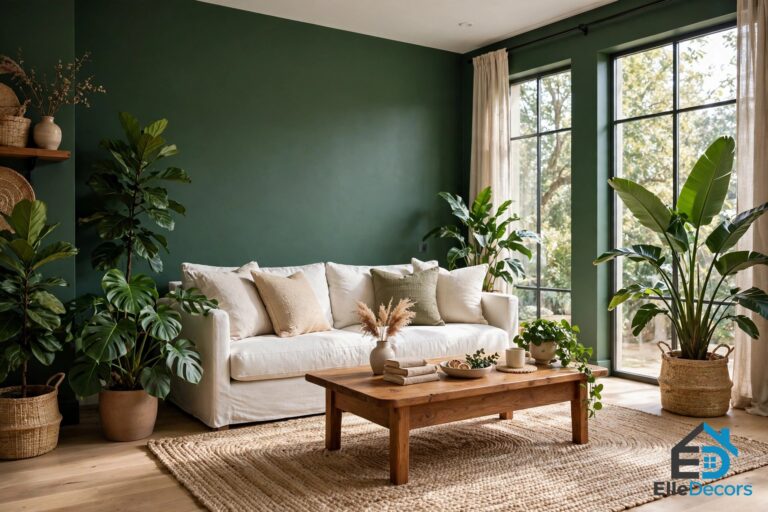
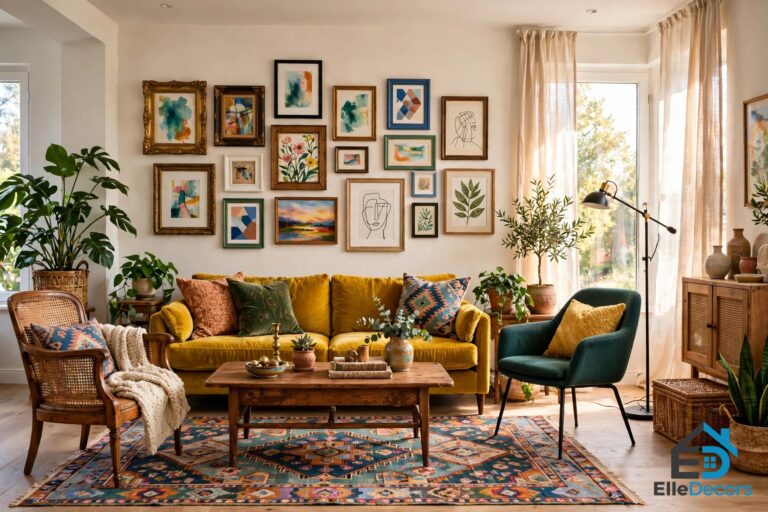
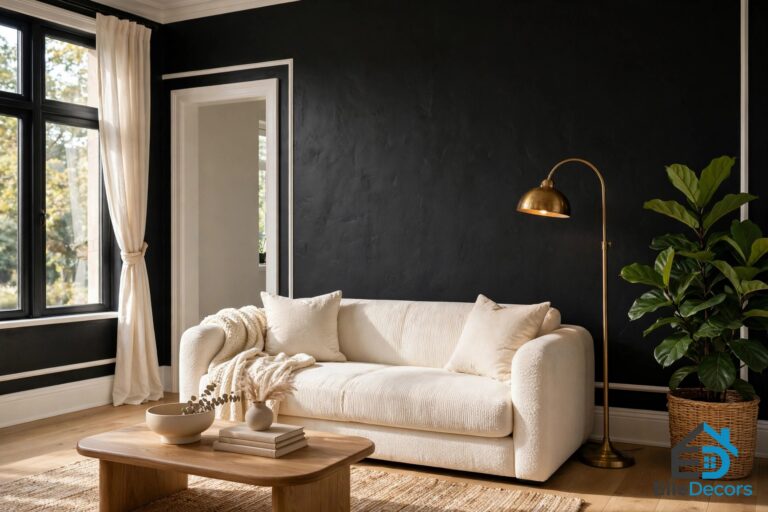
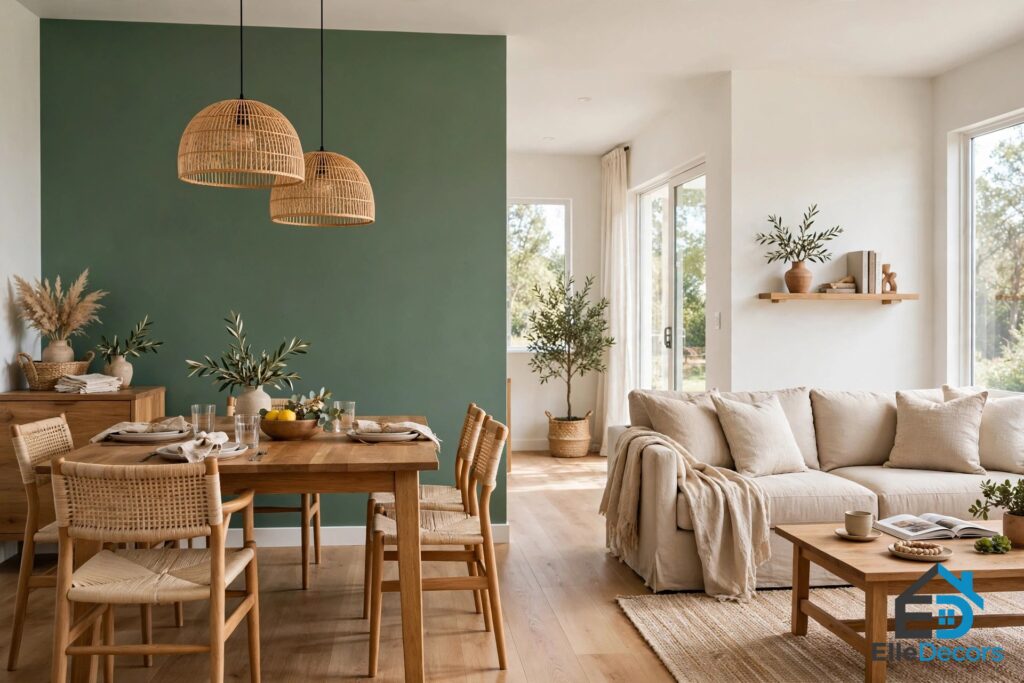
Colour is a non-structural zoning superpower. By painting one section of an open layout a slightly different shade, you instantly create a visual boundary without breaking the flow. A bold colour behind the dining area, a soothing neutral in the living space, or a playful accent near the workspace helps each zone gain its own personality.
The classic proportion is 60-30-10: one dominant neutral across 60 percent of the space, a secondary colour across 30 percent, and an accent colour across 10 percent. Repeat each accent colour in at least two zones, so the zones feel related rather than random, and repeat the wood tones and metal finishes the same way. Contrasting finishes do the same work: a patterned ceiling over the dining area, or wood flooring changing to tile beneath the island, guides the eye without dividing the room. The key is restraint: one bold move per zone is enough. The way how to design open spaces with colour works best is one palette for the whole room, with each zone getting its own accent within it.
Ceilings, Art, and Focal Points
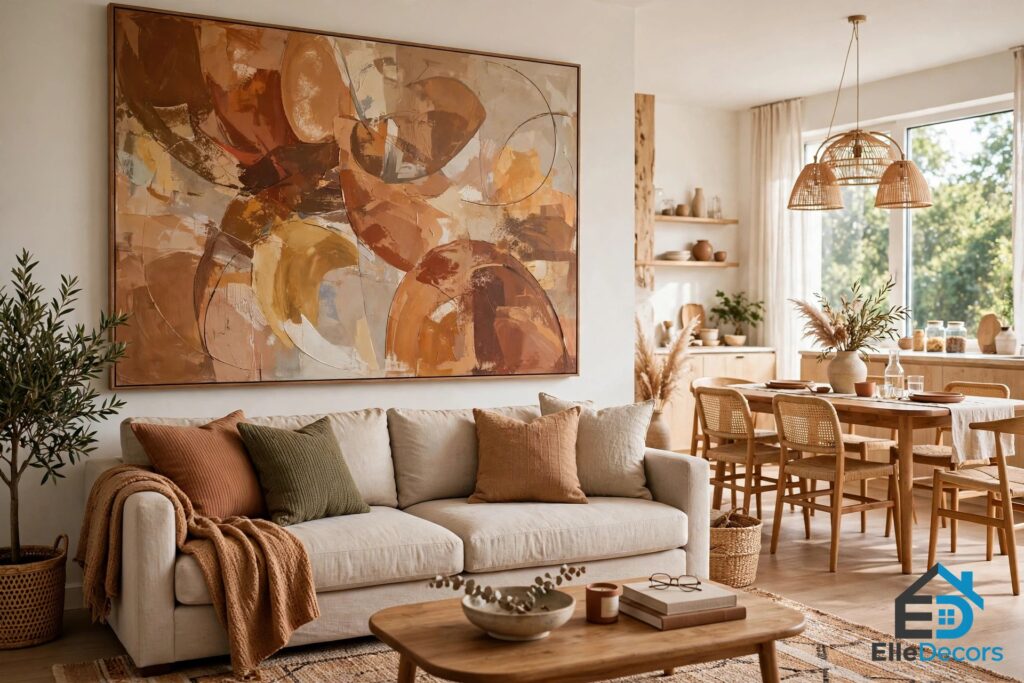
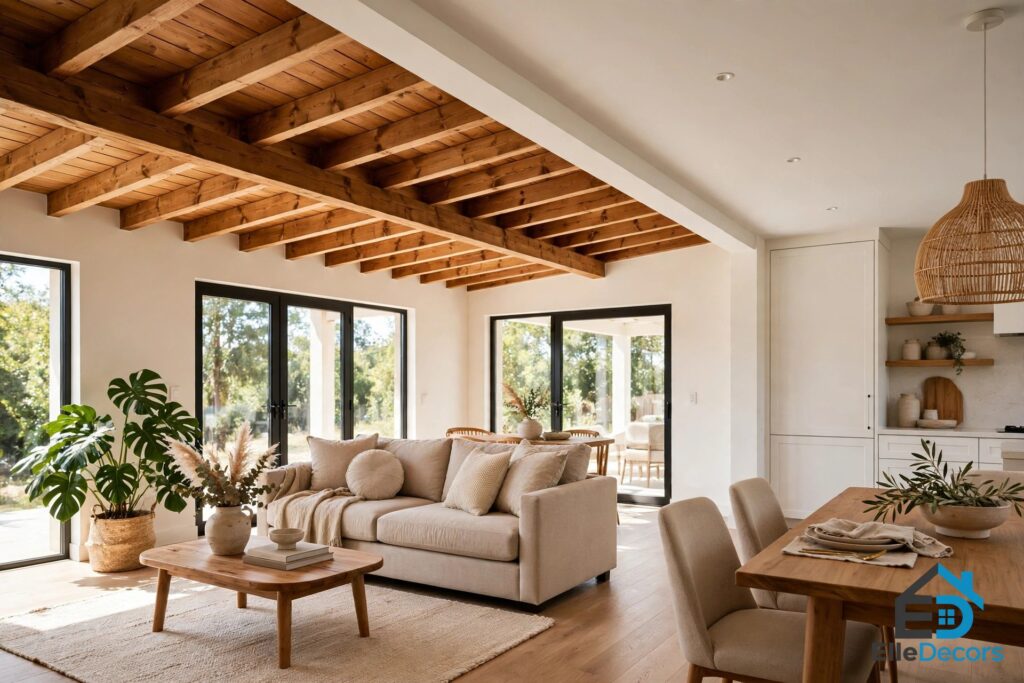
Ceilings are often overlooked, but they are powerful zoning tools. Beams, wood cladding, a painted section, or coffered details above one area can instantly define it: a panelled ceiling above the living zone makes it feel grounded, while a pendant constellation over the dining table creates intimacy. Large art marks zones the same way: one large painting above the sofa anchors the living area, and a dramatic print behind the dining table signals where that space begins. A strong centrepiece anchors a zone instantly, and a large mirror at a zone’s edge defines it while expanding it visually.
Plants: Living Dividers
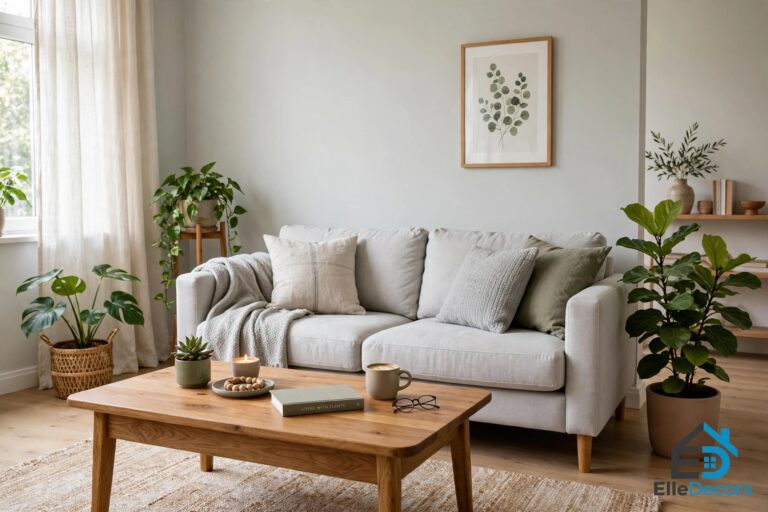
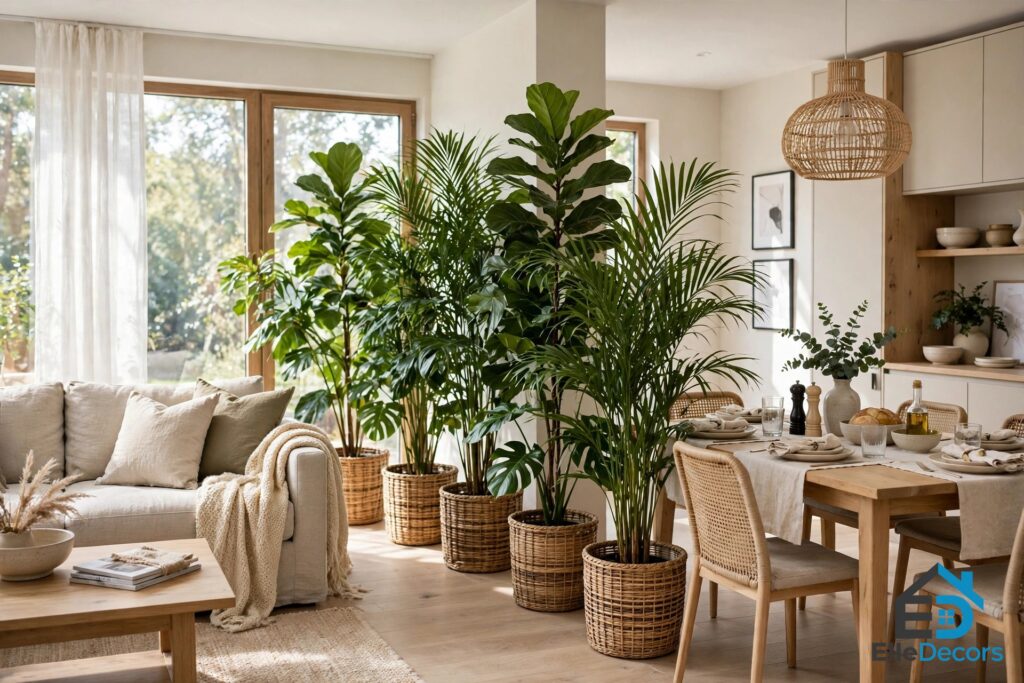
A row of tall, leafy plants is a beautiful way to create a soft barrier between spaces. Plants divide without blocking light, add texture and life, and soften the hard edges of a big room. Group them in woven baskets or matching pots along the edge of a zone, mixing heights so the group feels natural. Plants also soften the echo of large open rooms, as soft furnishings do.
Small Open Spaces and Studio Flats
Small open spaces need the same rules, applied more strictly. In a studio flat, the whole home is one open plan, so zoning is the only thing standing between a home and a single crowded room. Limit yourself to two zones, usually sleeping and living, with the kitchen as a third edge. Use a rug to anchor the seating, a curtain or open shelf to screen the bed, and one light per zone. To zone an open plan this small, keep the furniture low and the palette single, because a small space forgives nothing. Our studio flat furnishing ideas guide covers the layouts that make a one-room home work for sleeping, eating, and relaxing at once.
Keeping It Cohesive
Zoning can go too far. A room with five different rugs, four accent colours, and a screen in every gap feels chopped up, not designed. The fix is a single unifying thread: one wall colour, one wood undertone, and one metal finish, chosen before you buy anything. Repeat the thread deliberately, so each zone shares two or three elements with its neighbours and the eye reads the room as one home with distinct areas.
Zoning Tools at a Glance
Use this table to match each zoning problem to the tool that solves it.
| Zoning Tool | Best For | Key Number | What It Does |
|---|---|---|---|
| Area rug, living zone | Marking the seating area | 8×10 or 9×12 ft rug | Anchors the sofa group |
| Area rug, dining zone | Grounding table and chairs | Extends 24 in past edges | Keeps chair legs on the rug |
| Floating sofa, back out | Dividing living from dining | 14–18 in to coffee table | Sofa back becomes a low wall |
| Console behind sofa | Softening the sofa back | 12–16 in deep | Visual stop plus storage |
| Kitchen island | Dividing kitchen from living | 36–48 in to next furniture | Boundary with stools |
| Pendant over dining table | Marking the dining zone | Half to two-thirds of width | Light makes the zone after dark |
| Pendant hang height | Dining light that works | 30–36 in above tabletop | Table glows, guests visible |
| Open bookcase | Dividing without blocking light | 30–40% cubbies open | Structure plus display |
| Curtains or screens | Flexible, renter-friendly divide | Floor to ceiling on a track | Open for flow, closed for privacy |
| Accent colour | Giving a zone its own mood | 60-30-10 across the room | One palette, different accents |
| Large art or centrepiece | Anchoring a zone visually | One statement piece per zone | Zone feels finished |
| Primary walkway | Keeping the room navigable | 30 in min, 36 in ideal | Nobody walks through conversations |
The way how to design open spaces well is to pick two or three tools from this table, not all twelve. A rug, a floated sofa, and one pendant will transform most open plans. Add a screen or an accent wall only where the first three leave a gap.
Watch: Open-Plan Principles in Practice
Watch Dream Homes TV’s “Designing Space for Life: The Open-Plan Approach”, which walks through the principles behind this guide: integrating the living, dining, and kitchen areas into one cohesive layout, using furniture placement to define zones without walls, and choosing lighting, colours, and materials that hold the whole room together.
Video: Dream Homes TV explains open-plan principles, including furniture placement for zoning, lighting design, and material choices.
Frequently Asked Questions
How do I start with how to design open spaces?
Start with how to design open spaces by planning before you shop. List the activities the room must hold, pick two or three core zones, measure the room, and tape the footprints and walkways on the floor. Then anchor each zone with a rug and a light.
How wide should walkways be in an open-plan room?
Keep primary walkways between zones 30 inches wide at minimum and 36 inches where you can, following the U.S. Access Board’s 36-inch clear-width standard. Leave 42 to 48 inches behind dining chairs where someone walks past with plates.
What is the cheapest way to zone an open-plan room?
Rearrange the furniture you already own: float the sofa with its back to the dining area, pull the seating into a tight group, and move a rug under each zone.
Can I zone an open-plan room in a rented home?
Yes. Rugs, furniture placement, floor lamps, plants, and curtains on a tension rod or ceiling track all leave no mark. Choose freestanding dividers like an open bookcase or a folding screen that move with you.
How do I stop an open-plan room feeling cold and echoey?
Layer soft surfaces: a thick rug with a felt pad, lined curtains, upholstered chairs, and filled bookshelves all absorb sound and add warmth. Add warm dimmable lighting, throws, and cushions so the large space reads as several small, cosy rooms.
The Bottom Line
Measure the room, pick two or three zones, and give each one a rug, a light, and a job. Float the sofa with its back to the dining area, let the island mark the cooking edge, and use colour and art to give each zone its own mood. That is how to design open spaces that feel calm and connected at once: not by filling the room, and not by building walls, but by shaping it with intention.