12 Kitchen Peninsula Ideas That Work Like an Island in Less Space
A full island needs clear floor on all four sides. Many kitchens simply do not have it. A kitchen peninsula gives you the same three things an island promises — extra counter space, storage, and seating — while staying attached to a wall or a run of cabinets at one end.
This guide shares twelve peninsula kitchen ideas, from layout shapes to storage tricks and styling finishes. Each one tells you the look, the rooms it suits best, and how much effort it takes, plus the sizing rules that keep walkways clear and seating comfortable. If your whole room is tight, start with our guide to ideas for a small kitchen layout — a peninsula is often the single change that makes a small kitchen feel workable.
What Is a Kitchen Peninsula?
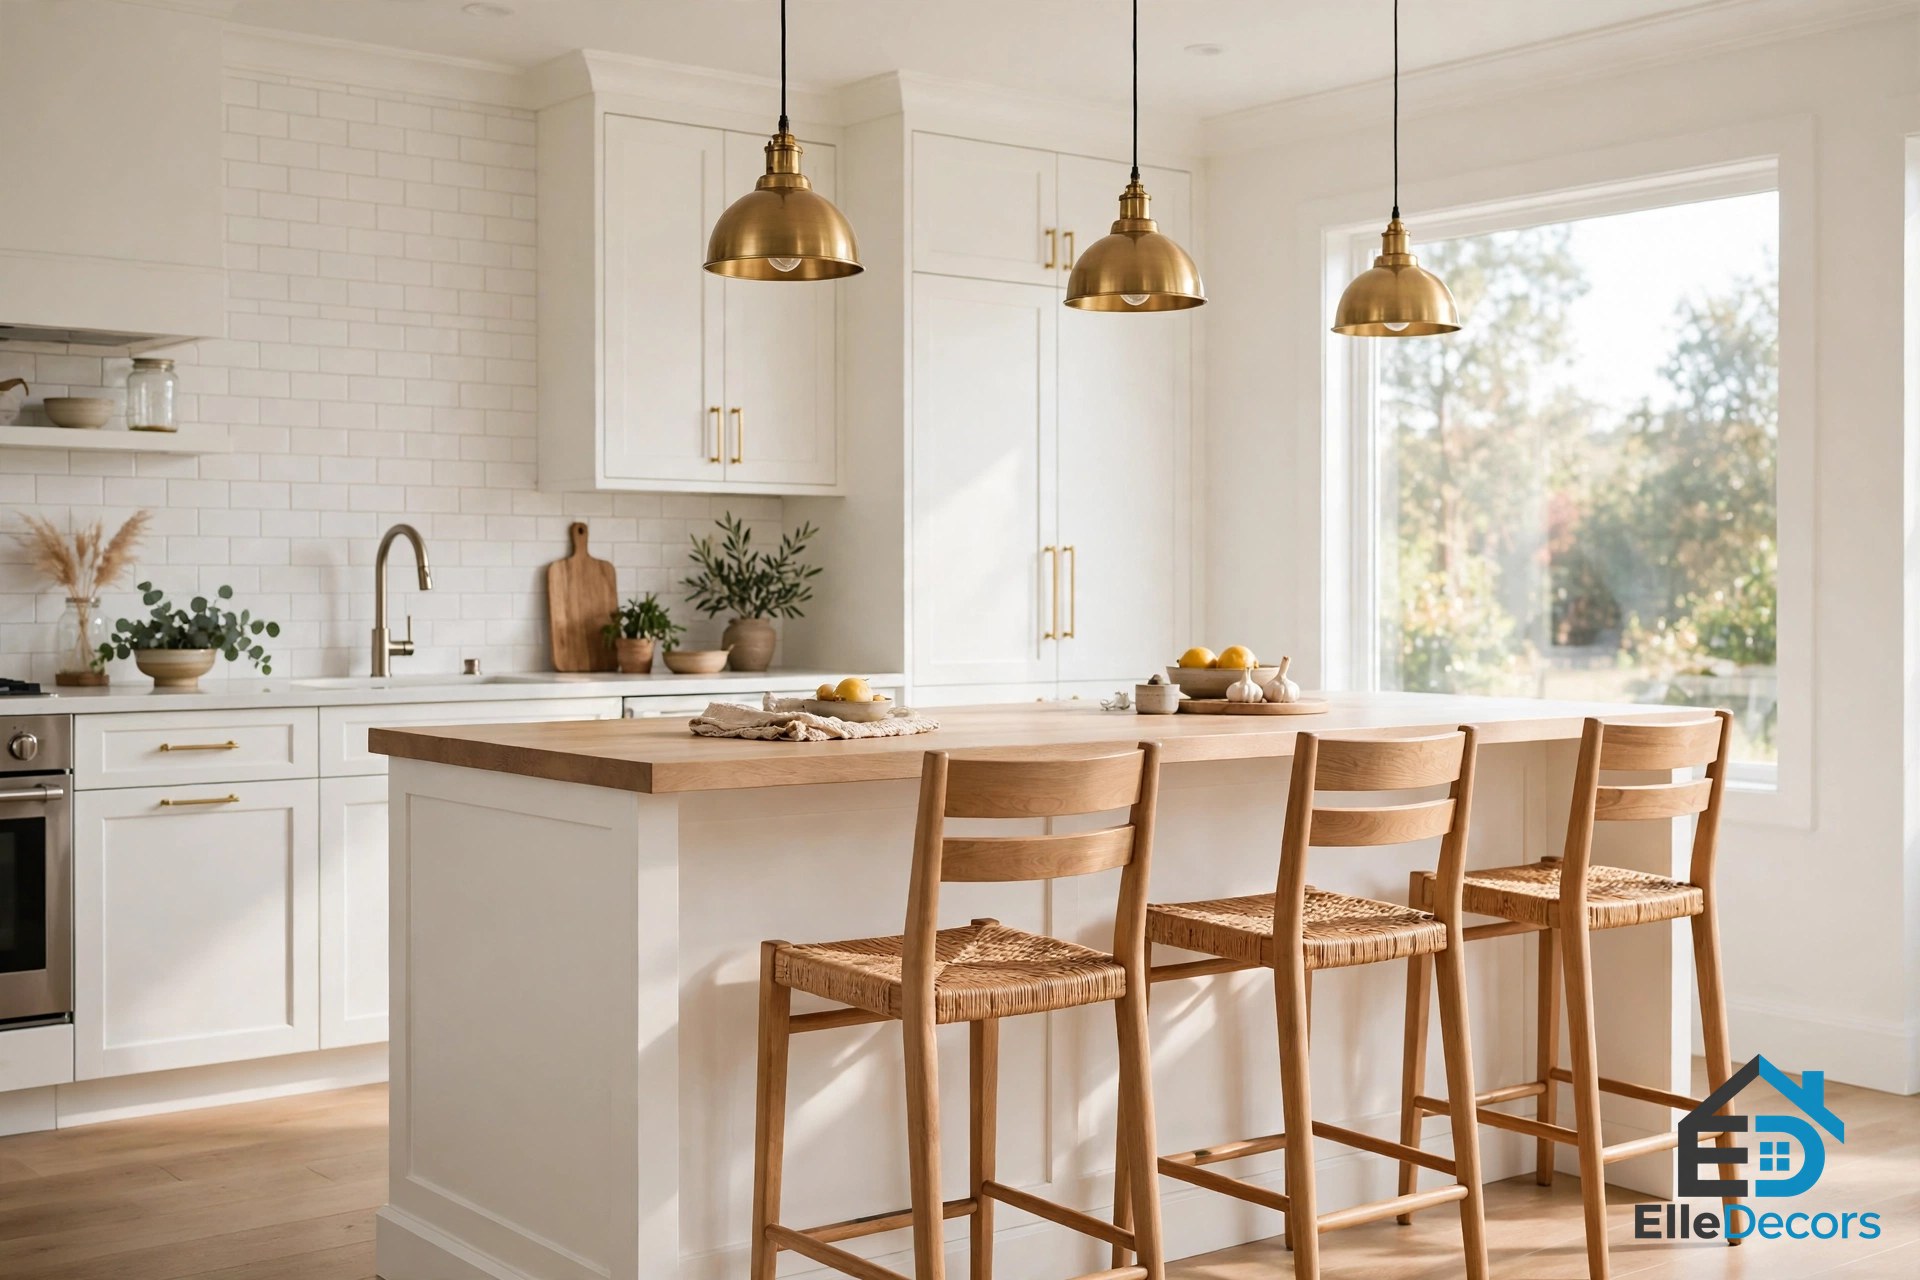
A kitchen peninsula is an extended counter that connects to a wall or existing cabinets at one end. It has three sides you can walk around, like a freestanding island anchored at one point. That single connection is the whole difference: an island stands alone with space all around, while a peninsula keeps one end fixed and frees up the floor an island would need.
Because of that, a peninsula suits smaller homes and apartments where an island would crowd the room. It also works in open-plan homes, where it draws a soft line between the cooking area and the living or dining space without building a wall. A typical peninsula runs 60 to 90 inches long, with a depth that matches standard counters at around 25.5 inches, and it can hold lower cabinets or drawers inside, a sink or cooktop, and seating outside.
The 12 Ideas, Layout by Layout
1. U-Shaped Peninsula
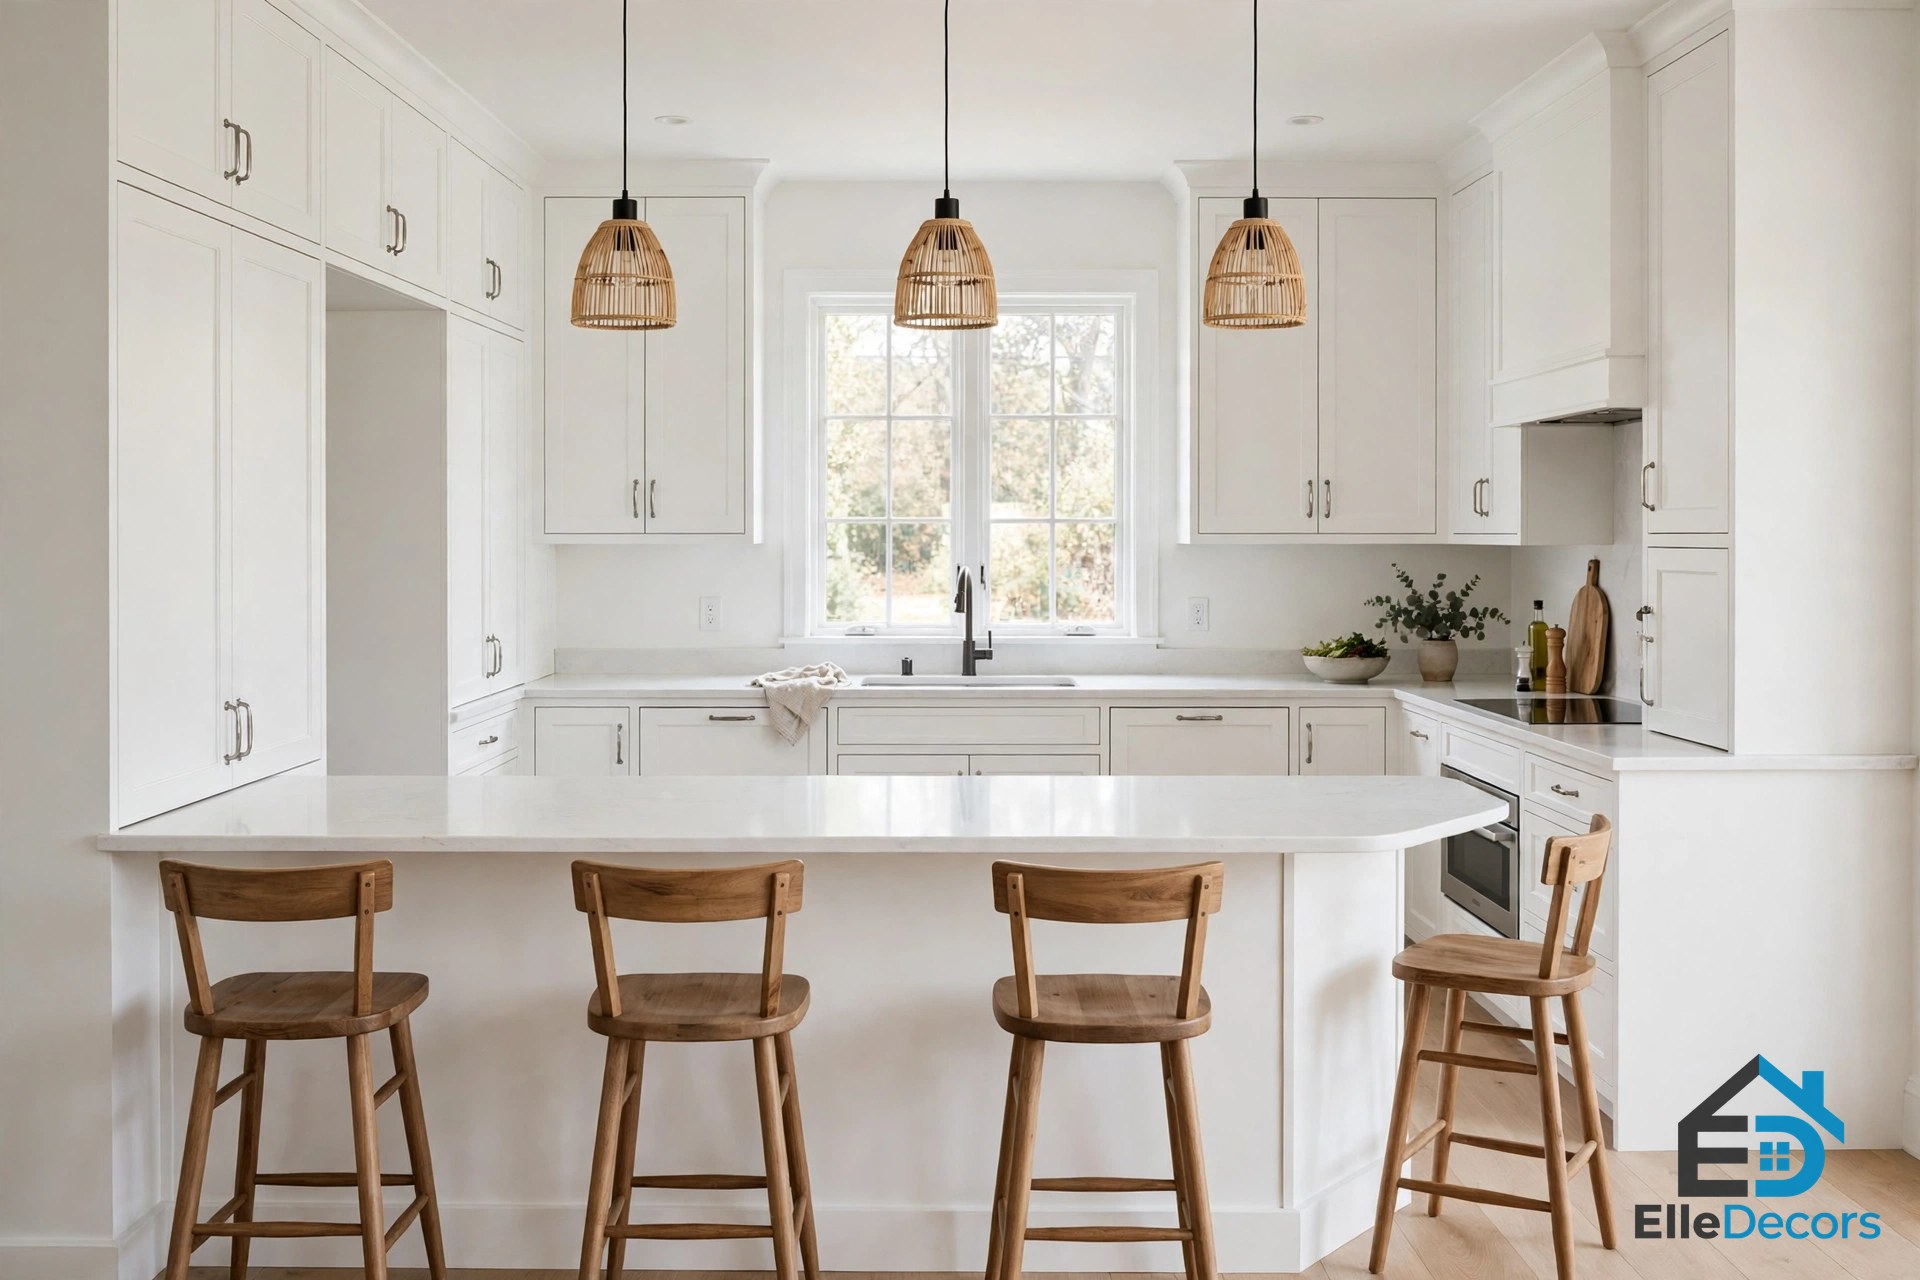
A U-shaped kitchen peninsula wraps three sides of the kitchen and creates a snug, efficient work triangle between sink, stove, and fridge. The peninsula closes off the third side of the U, so everything sits within easy reach and the cook stays protected inside the curve while guests perch on the outside.
This layout gives you long runs of counter and plenty of lower cabinet storage, which makes it a strong pick for compact and mid-sized homes alike. In an open plan, the U-shape also marks the kitchen’s edge clearly without a wall.
Best for: Compact and mid-sized kitchens, open plans
Effort: Moderate — usually part of a remodel
2. Use the Peninsula to Define Zones
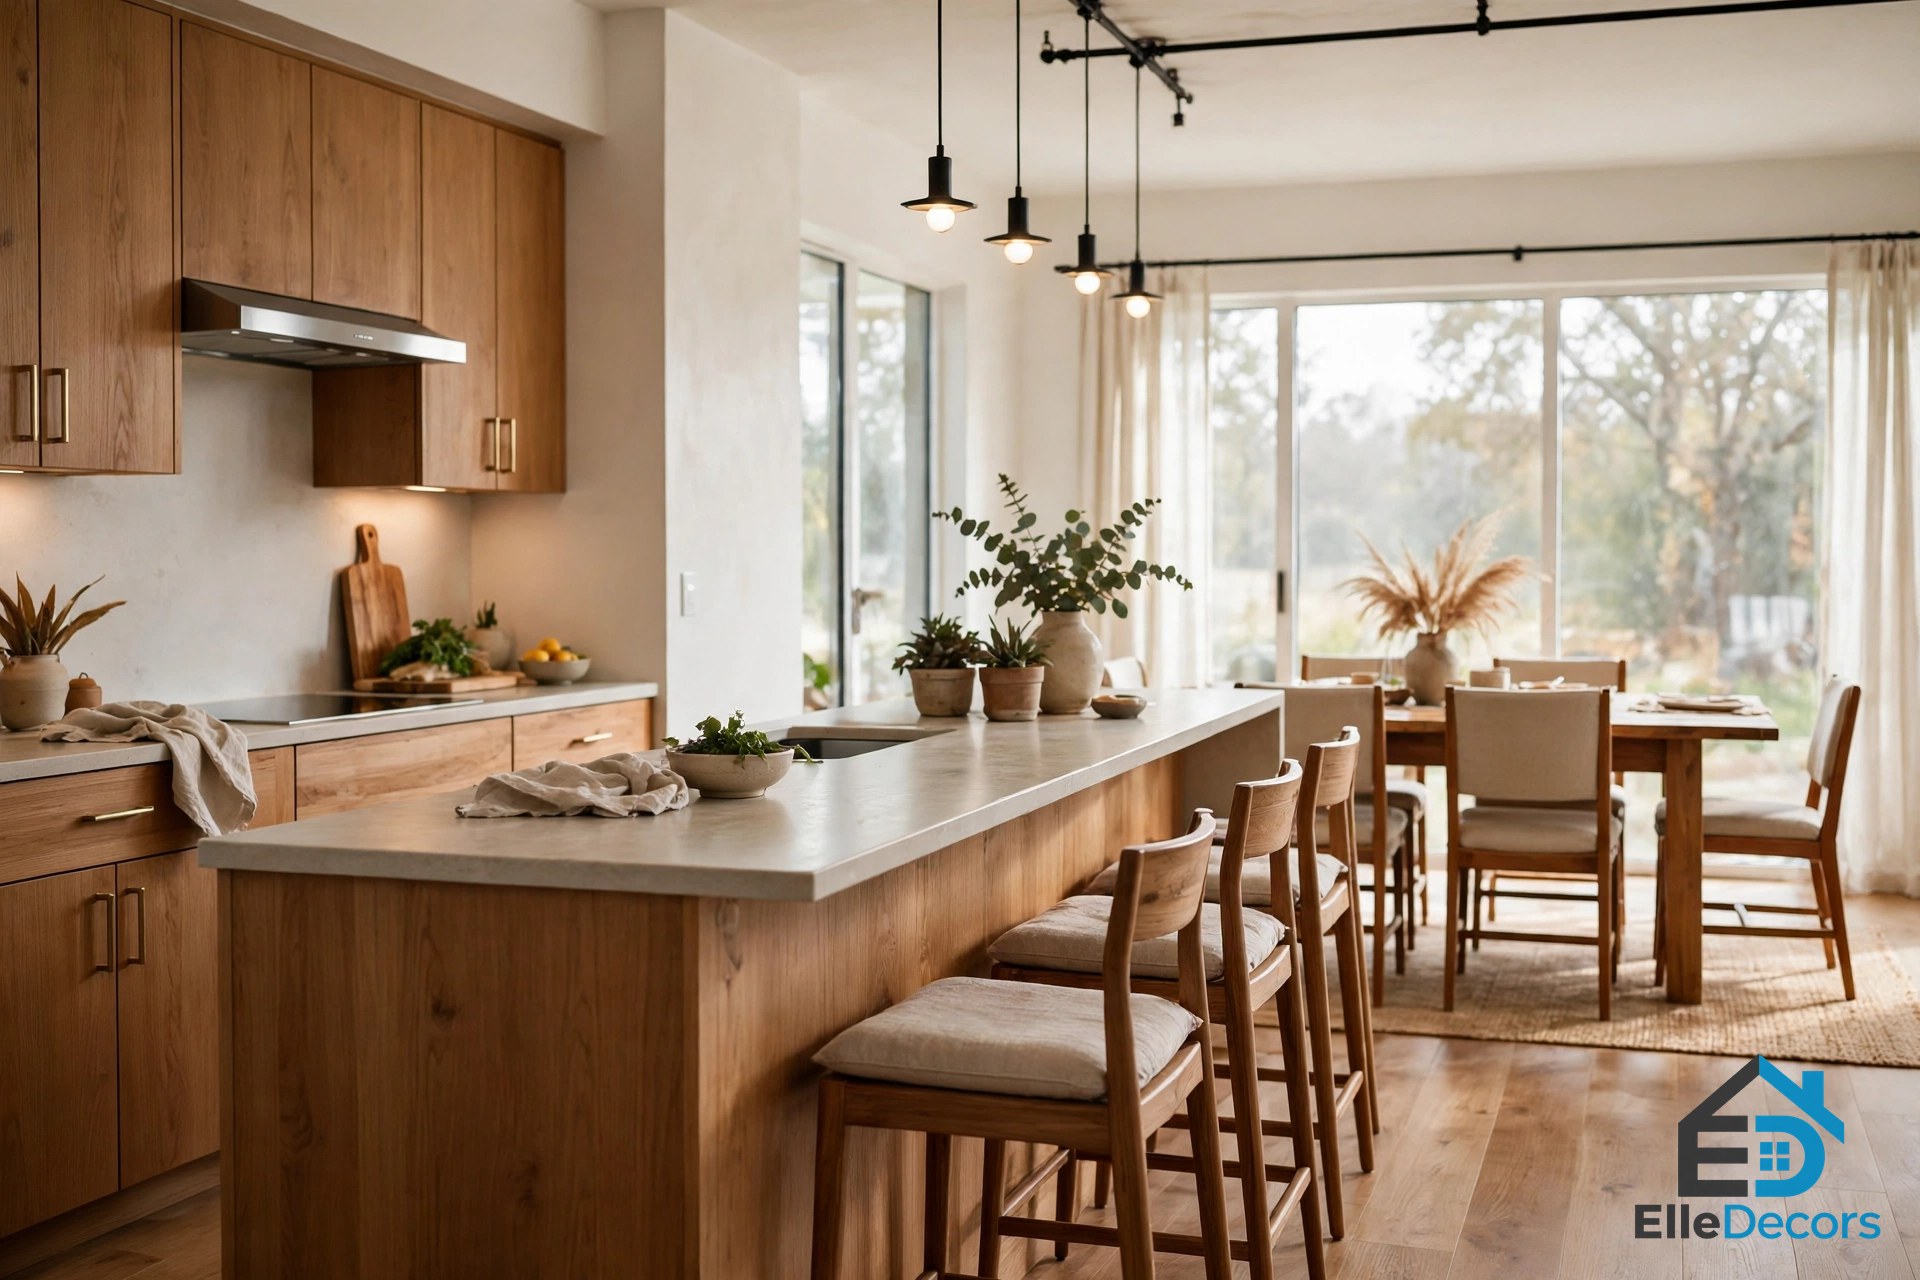
In an open-plan home, a peninsula can be the quiet boundary between cooking, dining, and living. Put the sink and dishwasher on the kitchen side and let the outer counter work as a breakfast bar or serving ledge. One side preps, the other side socialises, and nobody wanders into the cooking zone by accident.
In a large room it stops the kitchen sprawling into the living space; in a small one it gives the kitchen a clear edge, so the whole space feels more organised.
Best for: Open-plan homes, combined kitchen and living rooms
Effort: Easy to moderate
3. Two-Tiered Peninsula for Prep and Dining
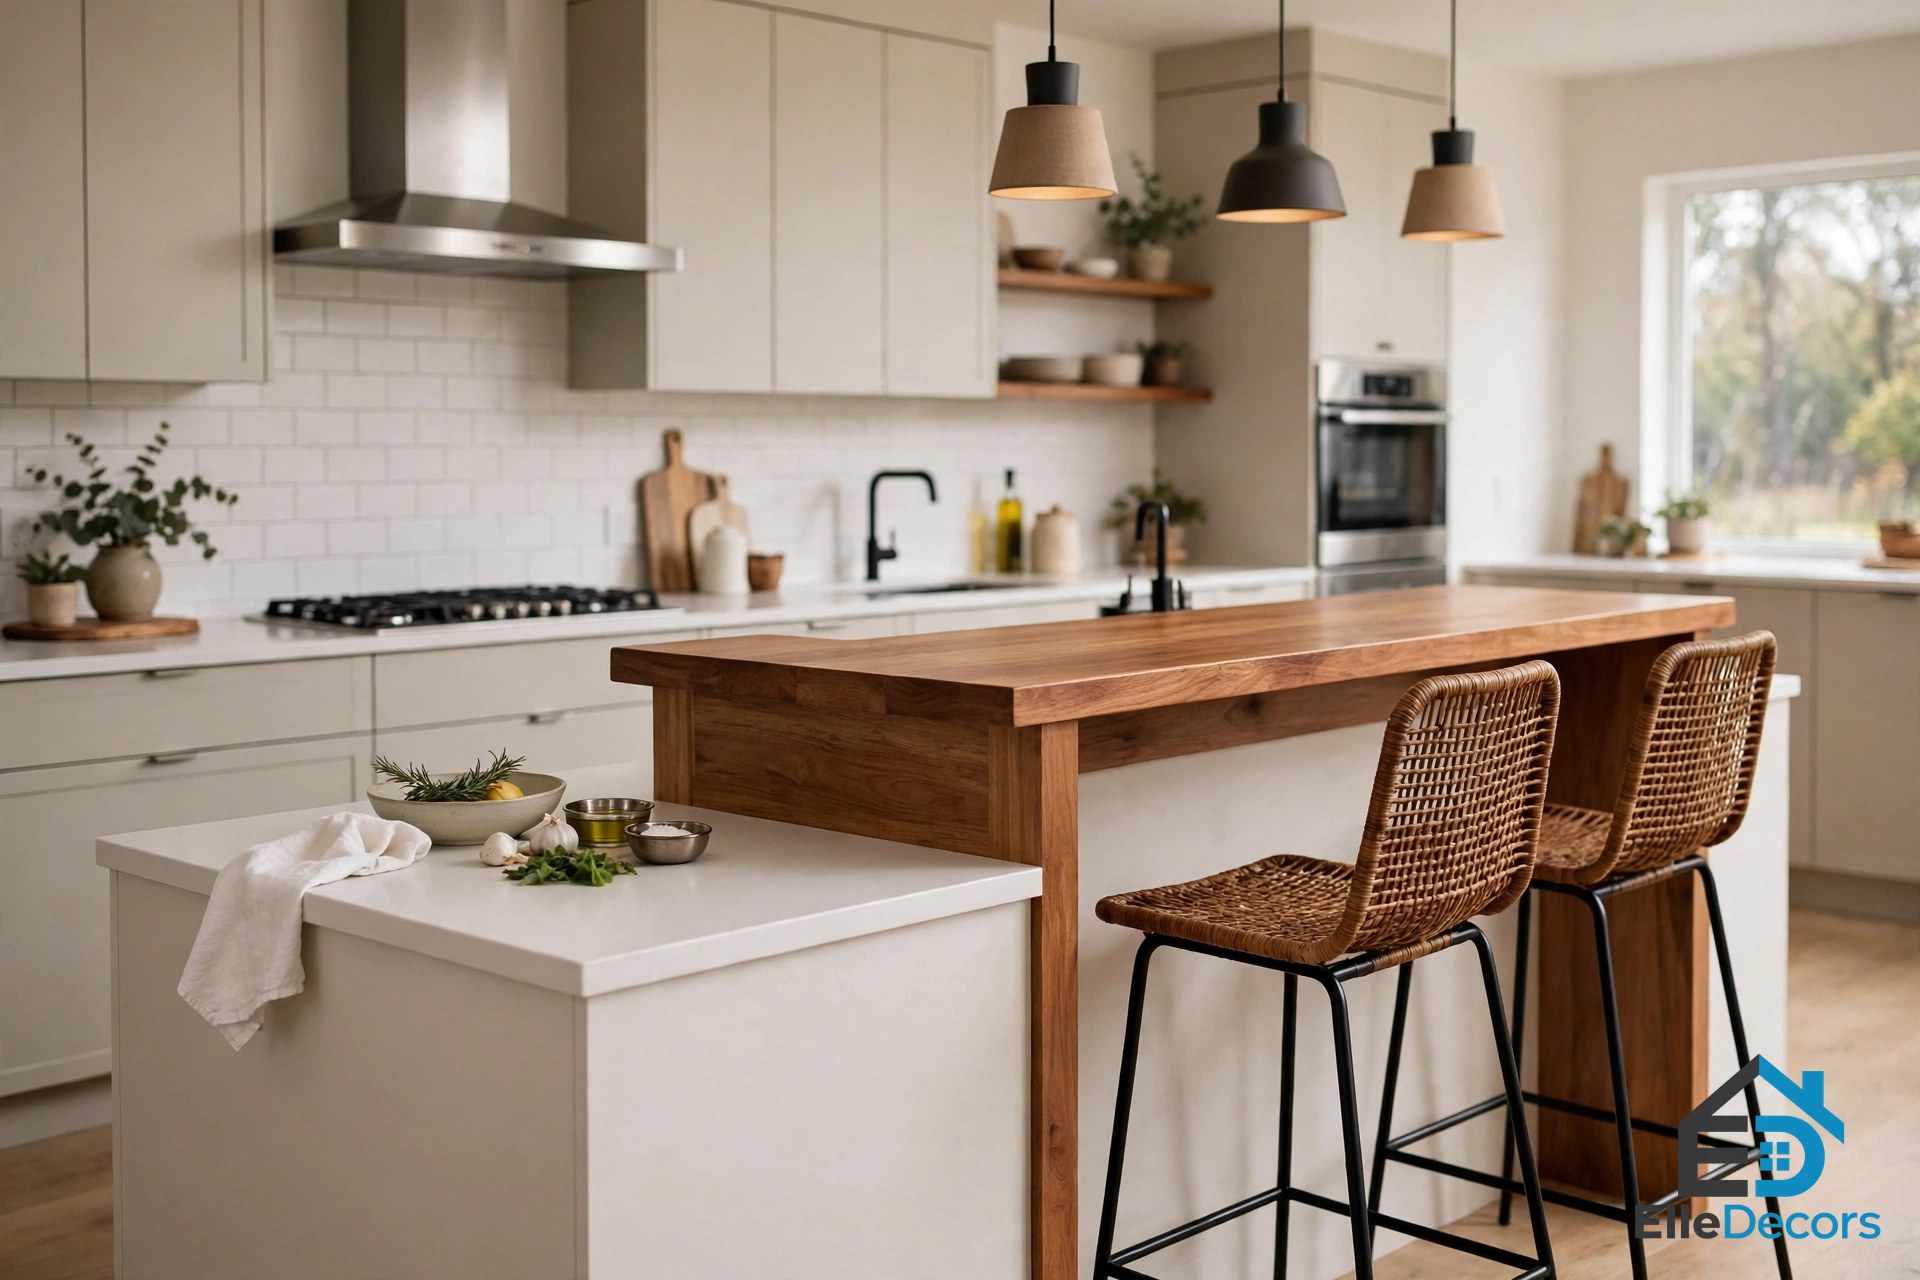
A two-tiered kitchen peninsula splits one footprint into two levels. The lower level works as a prep zone near the cooktop or sink, while the raised upper tier acts as a bar for meals, drinks, or laptop work. The raised tier also hides kitchen mess from guests sitting on the other side.
This split is a clever answer when there is no room for a dining table. It keeps the social side of the kitchen without adding a separate piece of furniture.
Best for: Small kitchens, homes without a dining table
Effort: Moderate
4. Galley Peninsula with Open Shelving
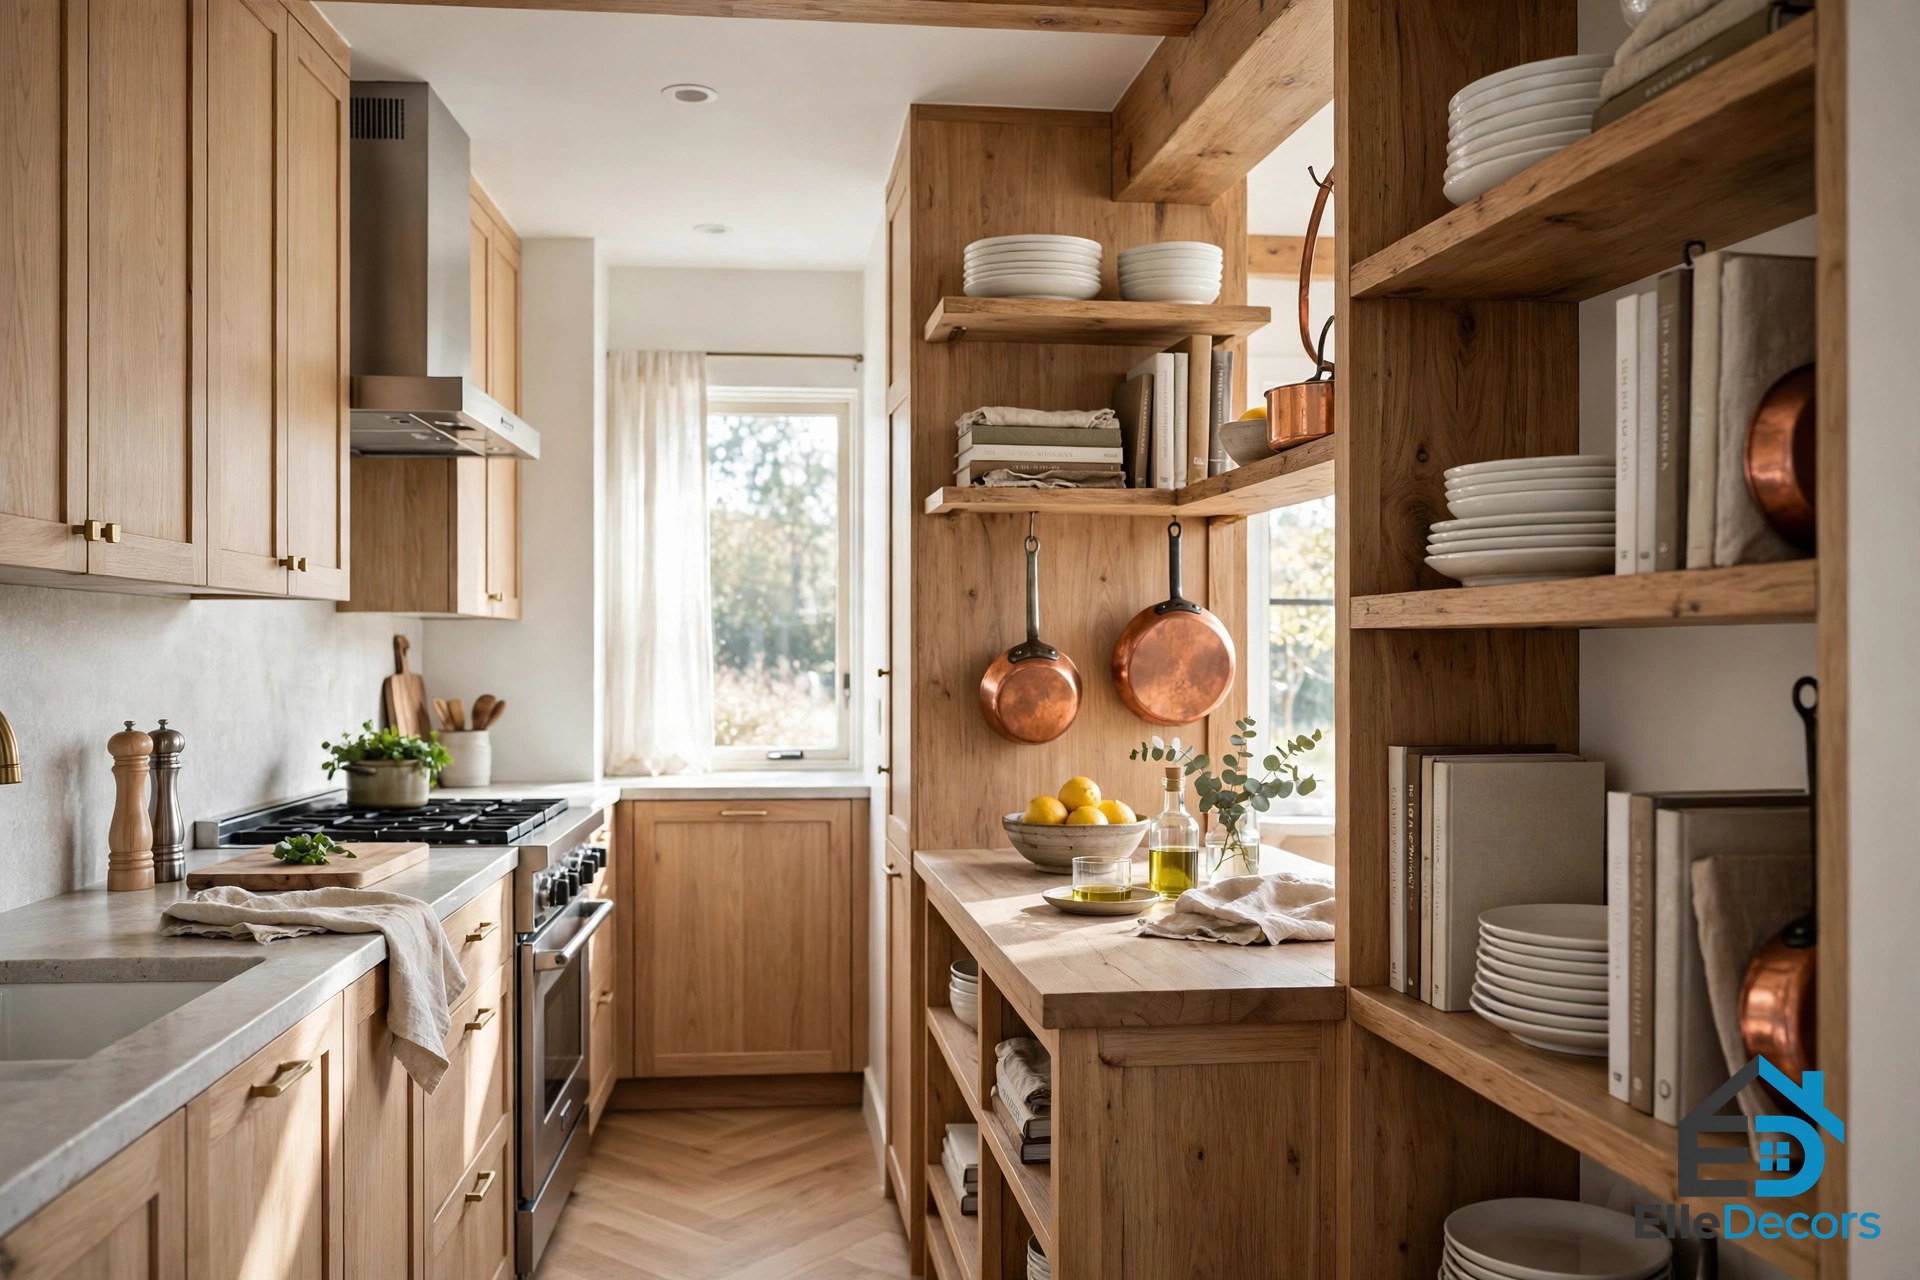
In a narrow galley kitchen, a peninsula with open shelving adds storage without closing the space off. Instead of bulky cabinets on the outer side, use open shelves for plates, cookbooks, or small baskets. Essentials stay within reach while light and air keep flowing, so the kitchen feels bigger than it is.
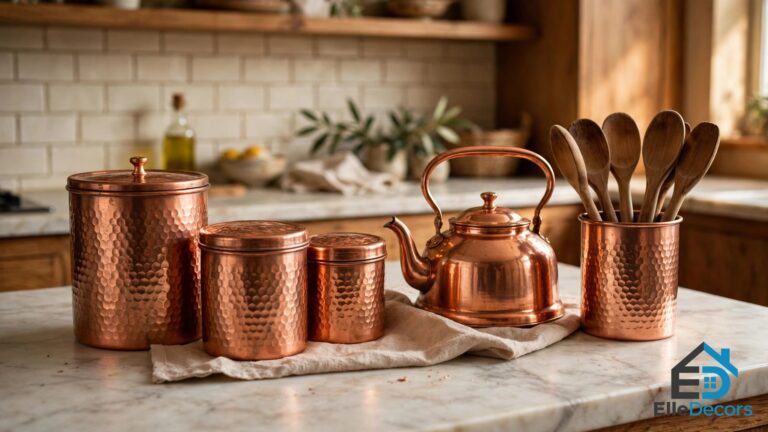
Open shelves also give the peninsula personality. A row of copper pans, wooden boards, or glazed dishes turns a plain cabinet end into a display, so group similar pieces together and leave some shelf space empty. For more on that warm metal, see our guide to copper kitchen accessories.
Best for: Galley kitchens, narrow rooms, apartments
Effort: Easy to moderate
5. Try an L-Shaped Layout
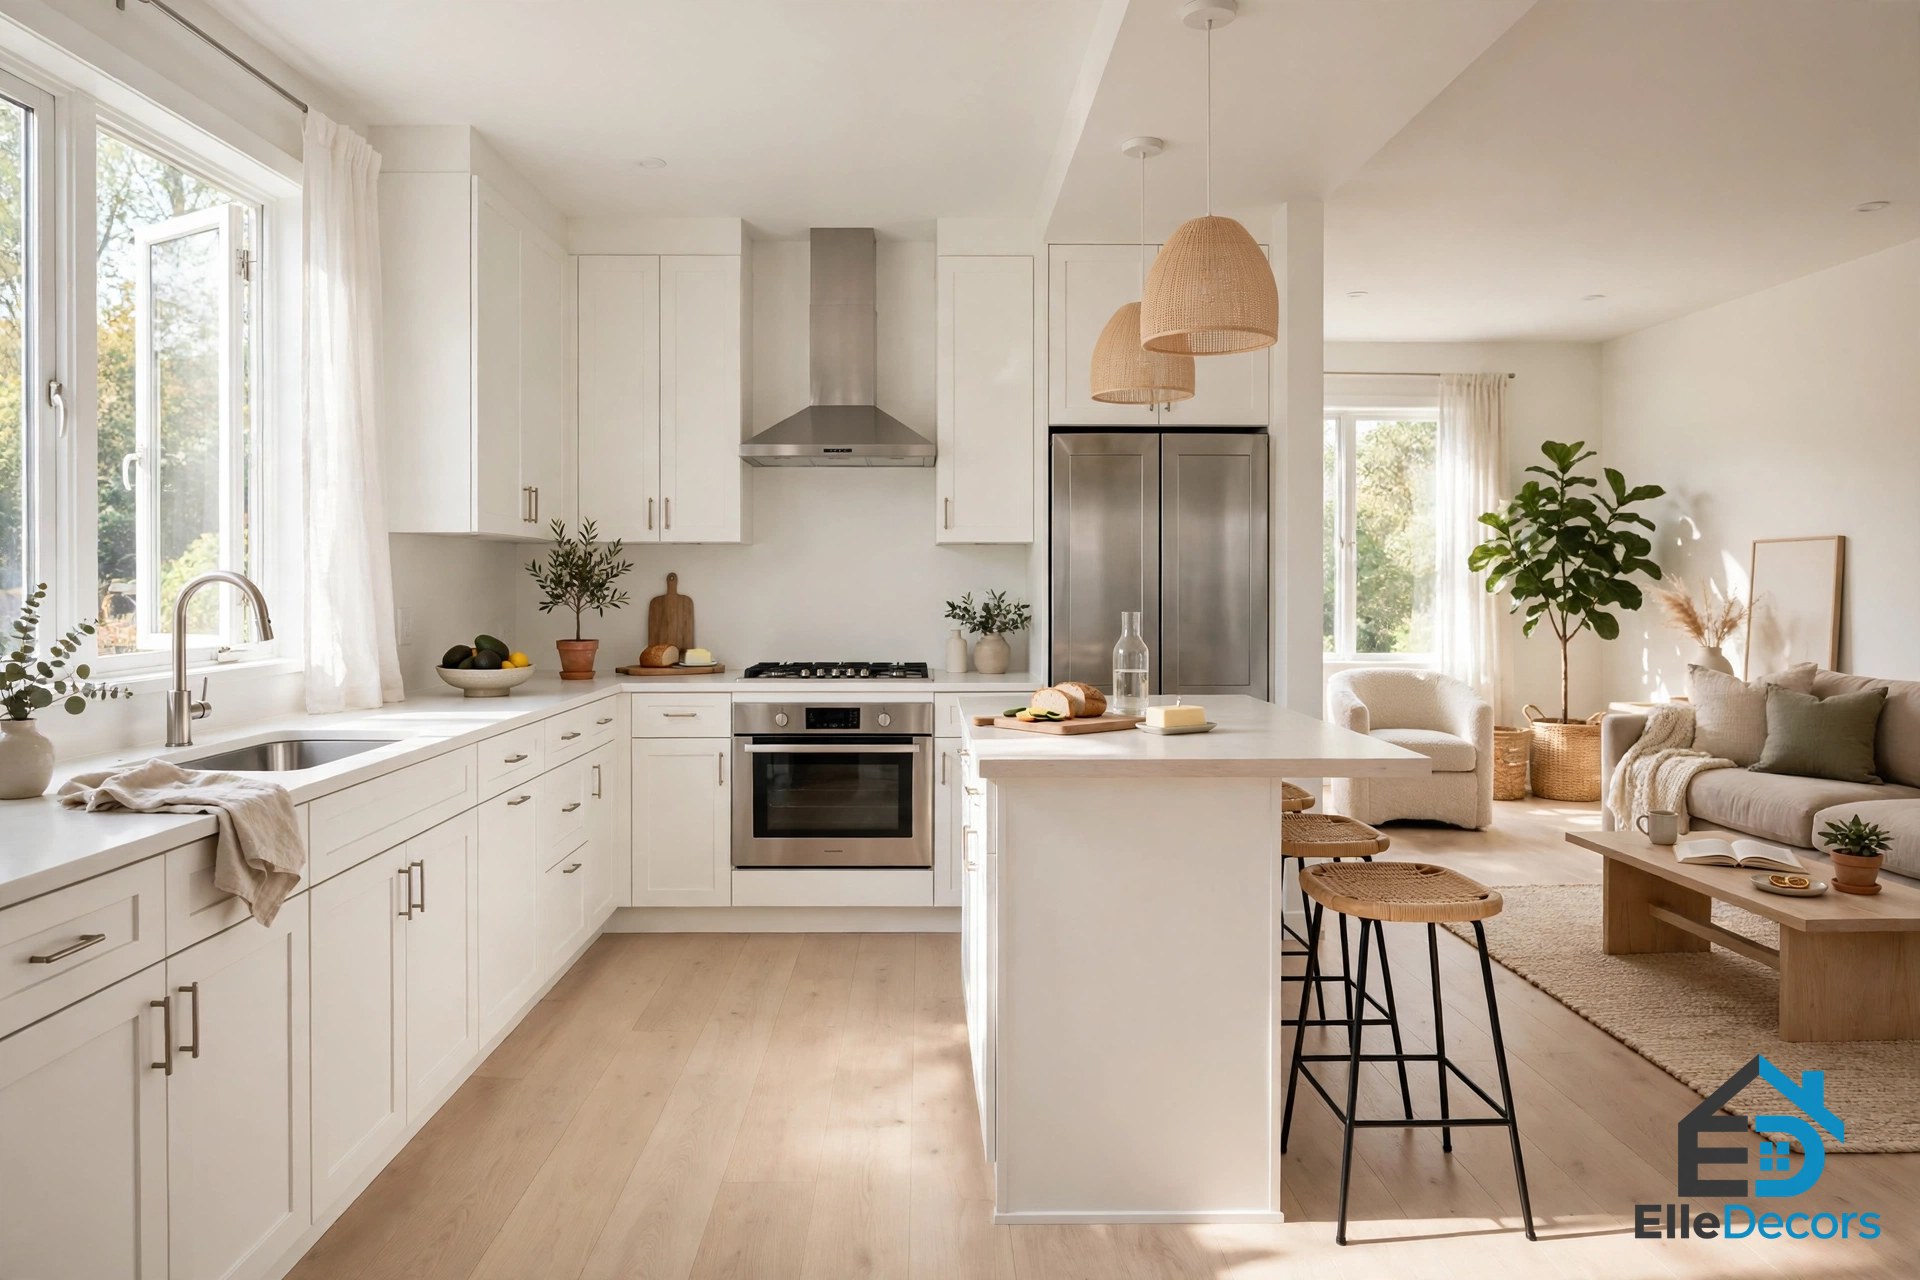
The L-shaped peninsula is the most common setup, and for good reason. Adding a peninsula to a one-wall kitchen creates an efficient L-shape, and adding one to an L-shaped kitchen turns it into a U. The longer side of the L can hold the sink or the cooktop, while the shorter leg doubles as a breakfast bar or serving station.
This shape keeps sightlines into the rest of the home while giving the kitchen structure, wraps cabinetry neatly around corners, and suits oddly shaped rooms where a straight island would feel boxy.
Best for: One-wall kitchens, open-concept spaces, odd shapes
Effort: Moderate — usually part of a remodel
6. Floating Peninsula for a Lightweight Look
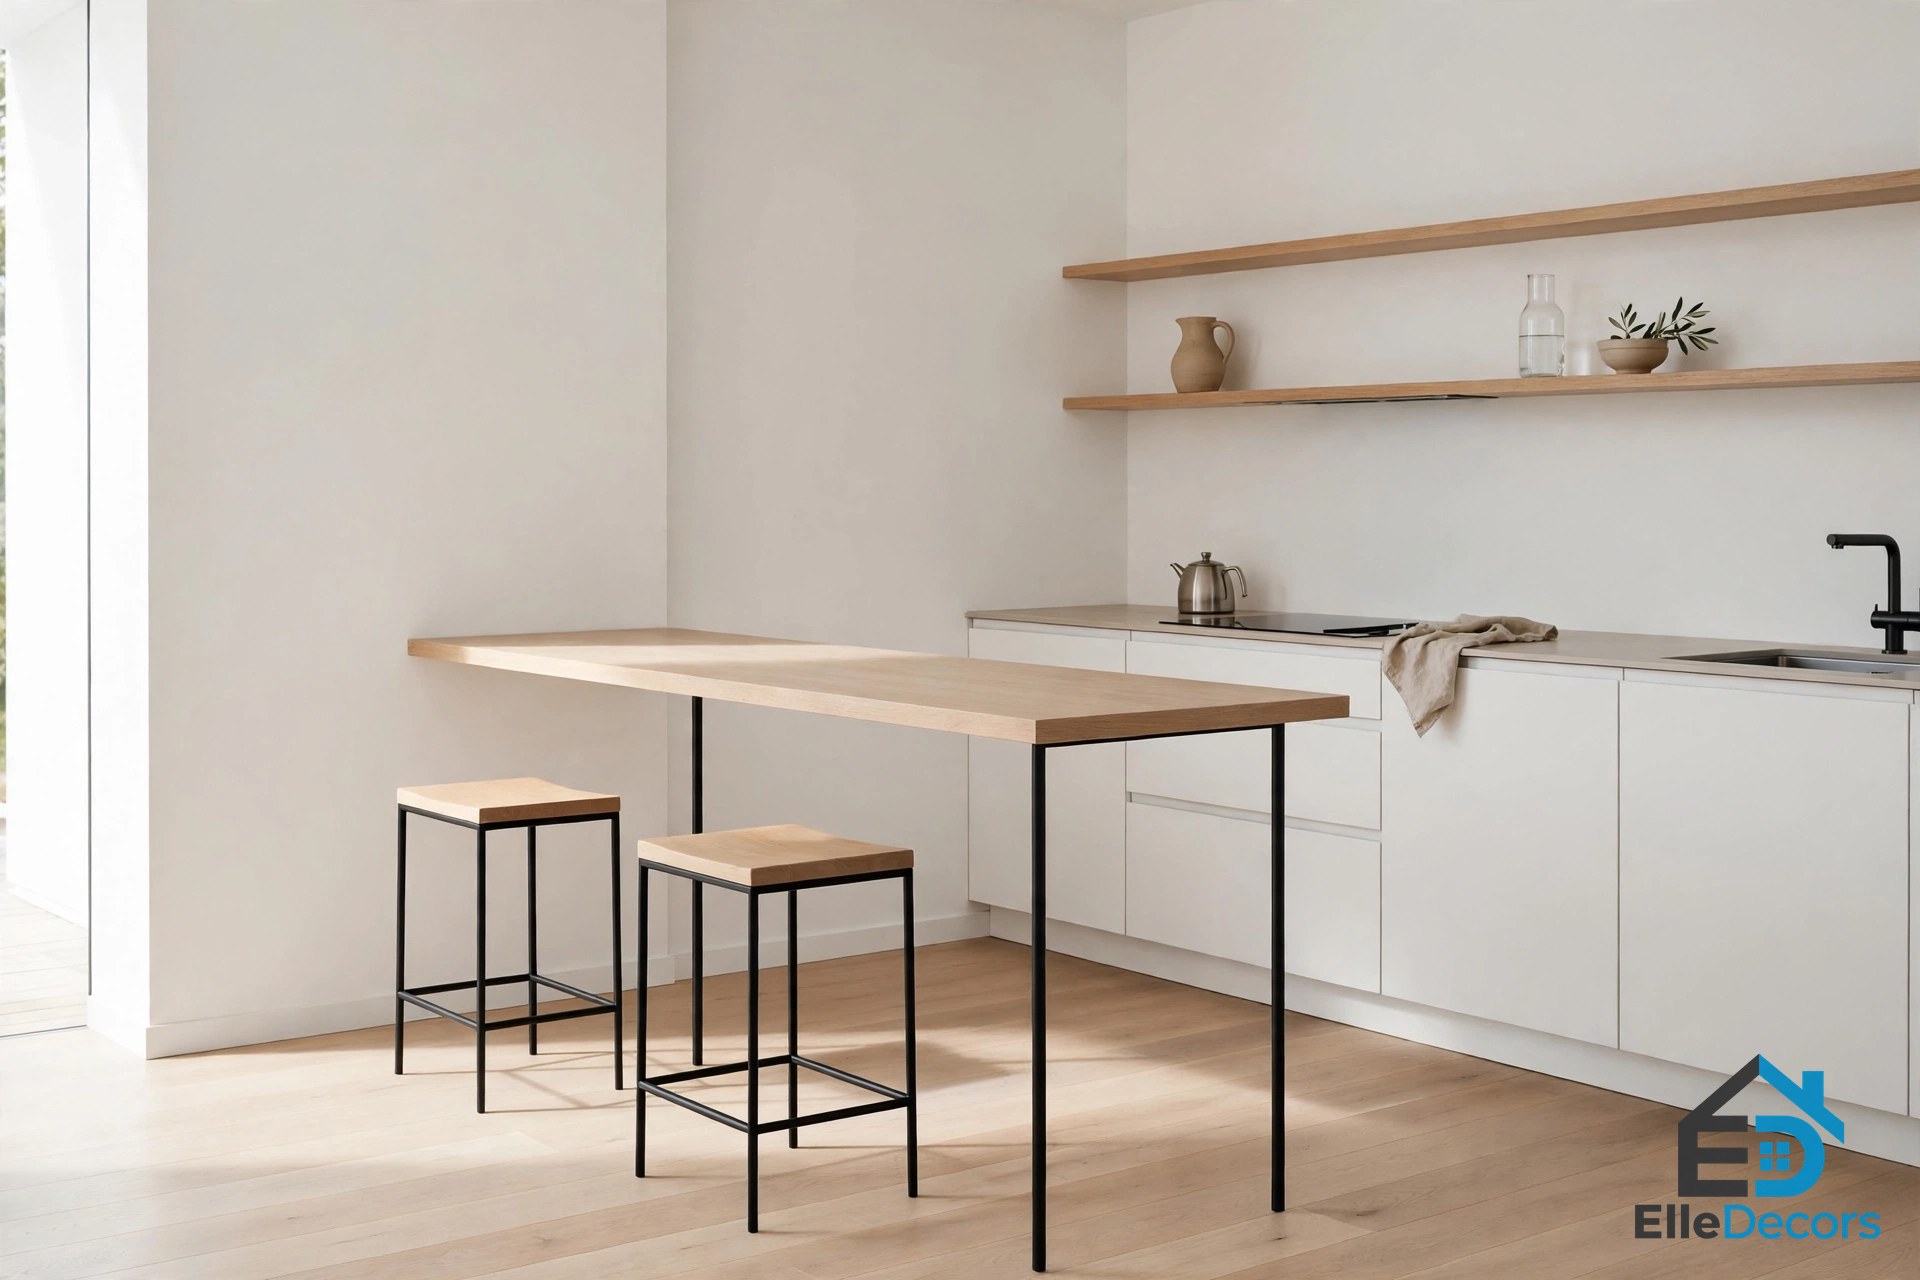
A floating peninsula is wall-mounted or held up by slim legs, so the counter looks as if it hovers. With no bulky base underneath, the floor stays visible and the room feels lighter and larger. The open space below can hold tucked-in stools or slim storage baskets.
Best for: Small kitchens, apartments, lofts, minimalist homes
Effort: Moderate — needs solid wall fixing or good legs
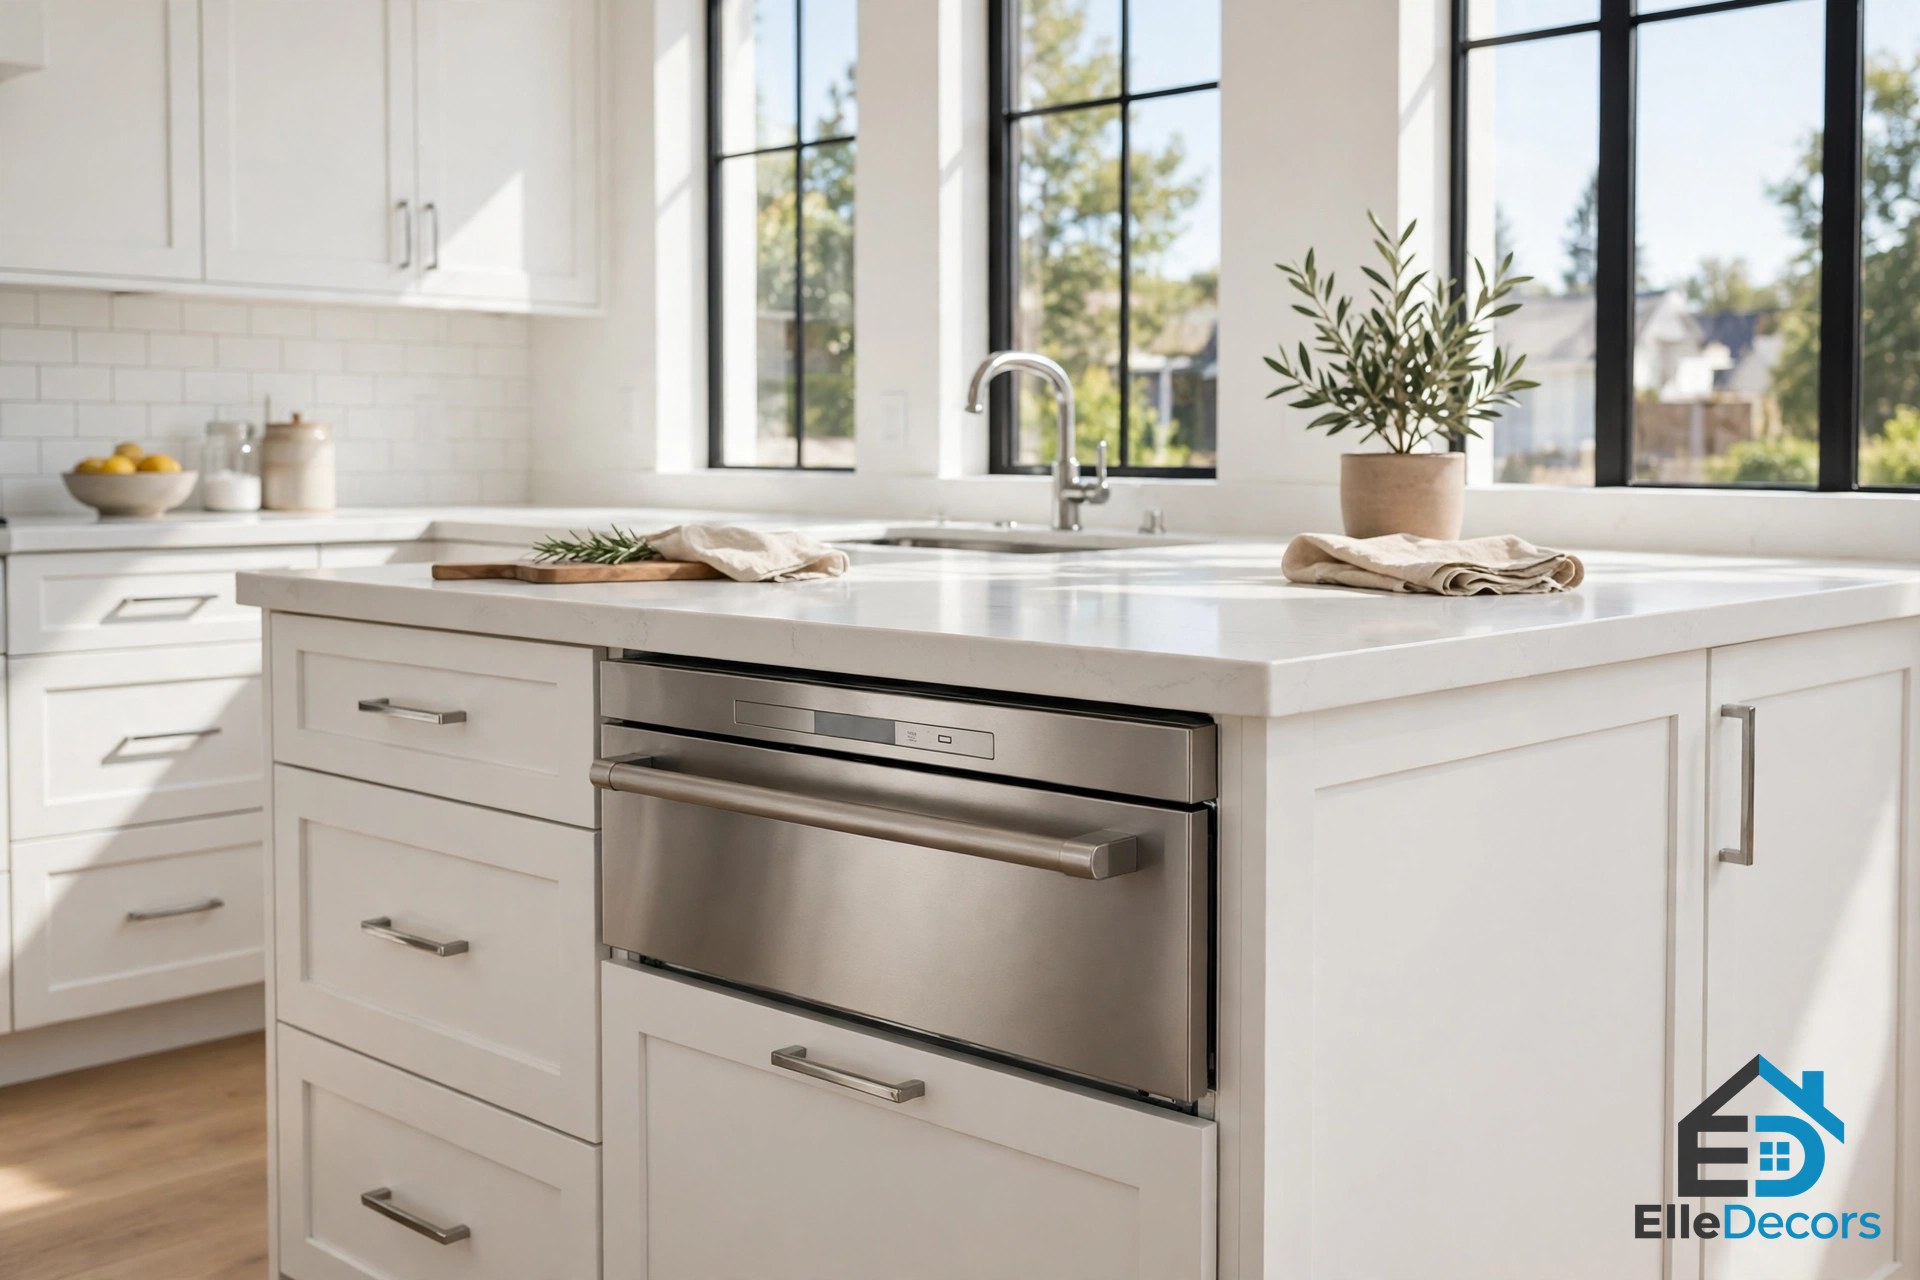
7. Build In a Microwave or Mini Fridge
Instead of cluttering the countertop, build a microwave or compact fridge straight into the peninsula. A drawer-style microwave or under-counter fridge keeps the kitchen streamlined and organised, and it frees up cabinet space elsewhere.
It also improves how the kitchen flows. Guests and children can grab a drink or warm leftovers without crossing into the main cooking zone.
Best for: Small kitchens, family homes, open plans
Effort: Moderate — needs power and ventilation planned early
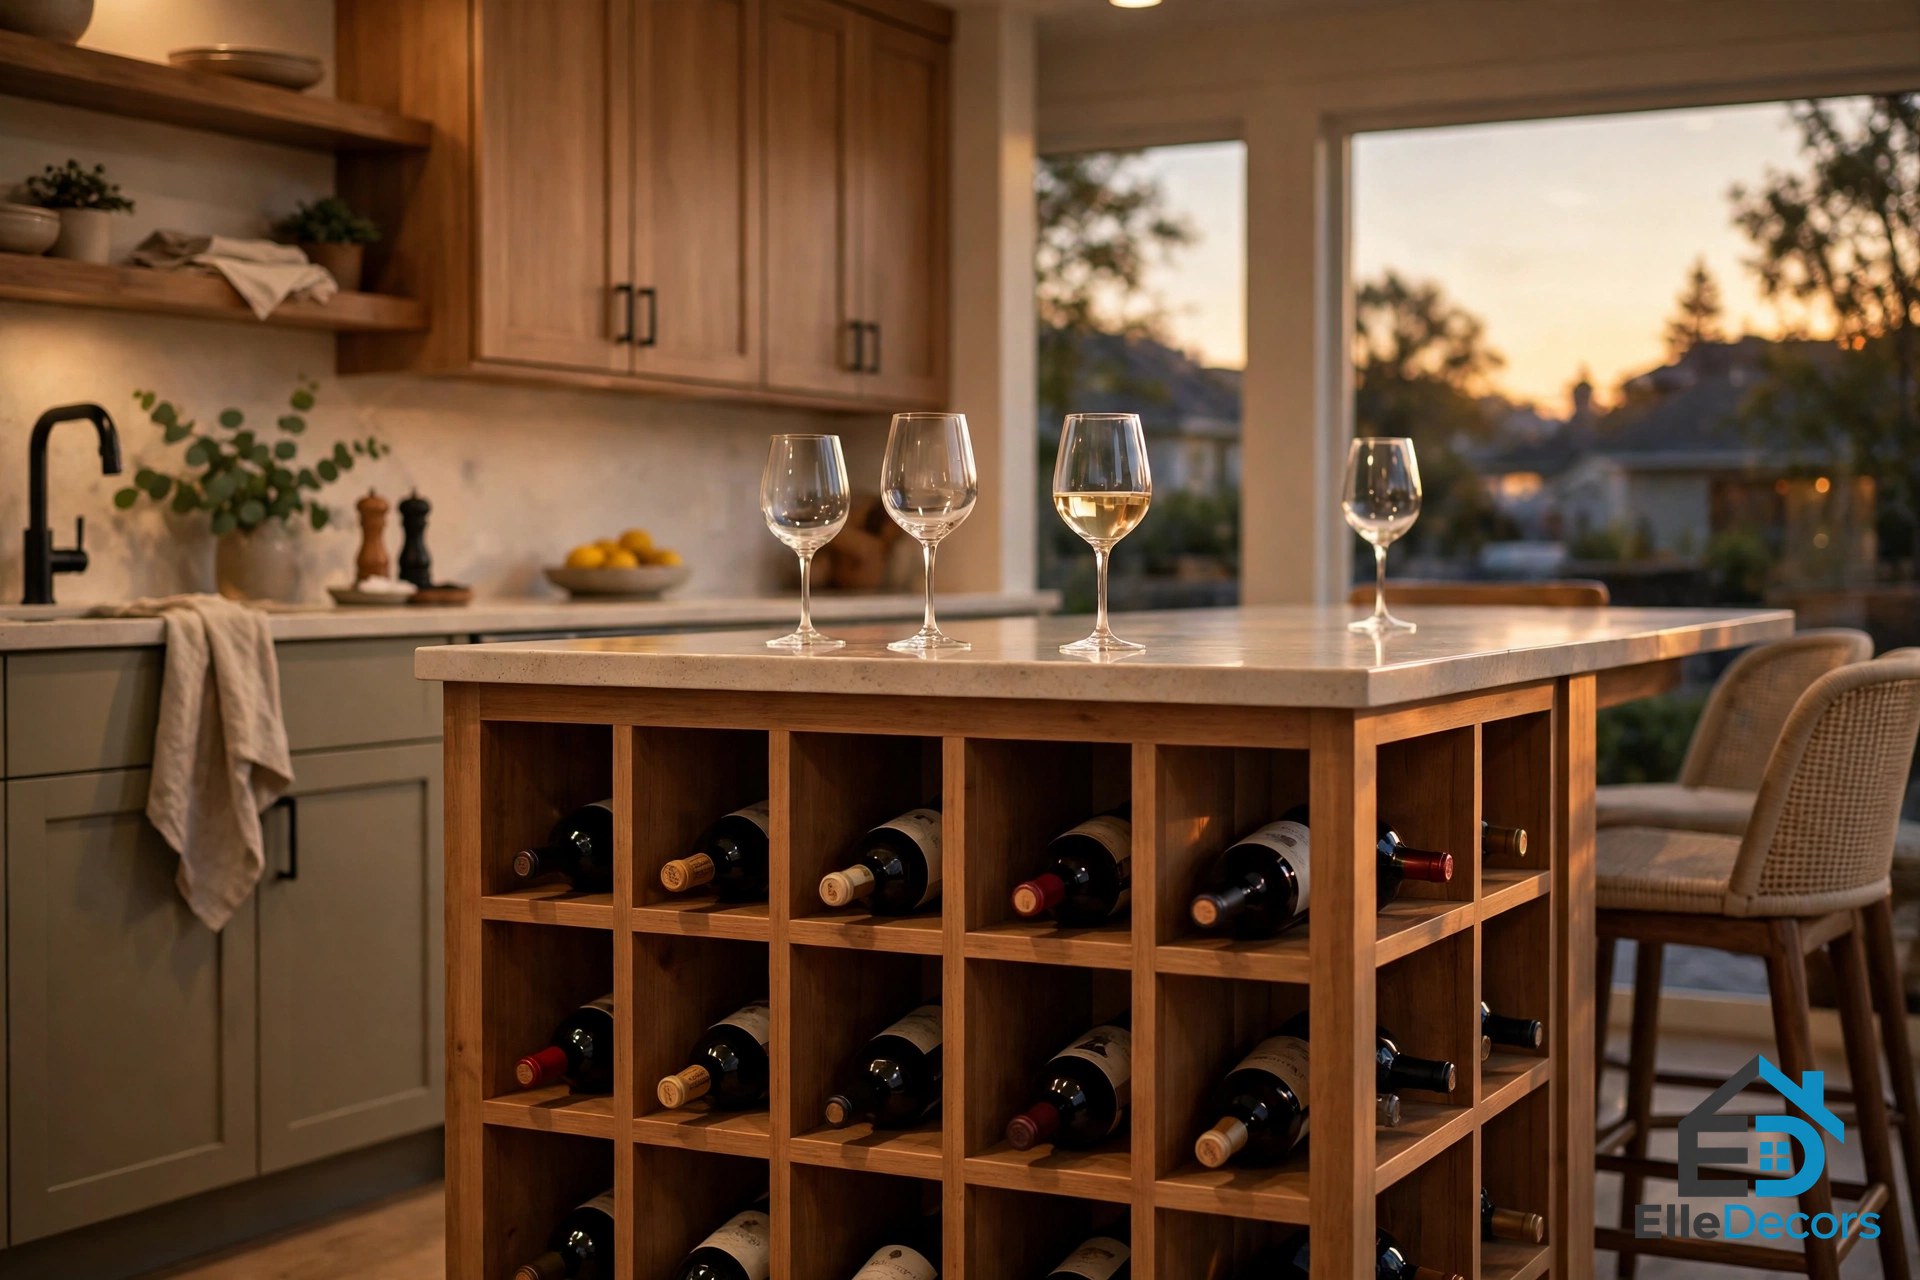
8. Add Built-In Wine Storage
Built-in wine racks or cubbies turn the peninsula into a stylish feature that works as both a prep station and a bar. Horizontal slots or angled shelving keep bottles easy to reach while freeing up cabinet space, and the rack itself adds character to what would otherwise be a plain cabinet end.
When you entertain, the peninsula becomes the serving spot, with glasses and bottles in one place and guests gathered on the outer side — the bar folds into the cooking space instead of demanding a separate one.
Best for: Entertainers, open-plan kitchens, dining areas
Effort: Easy to moderate
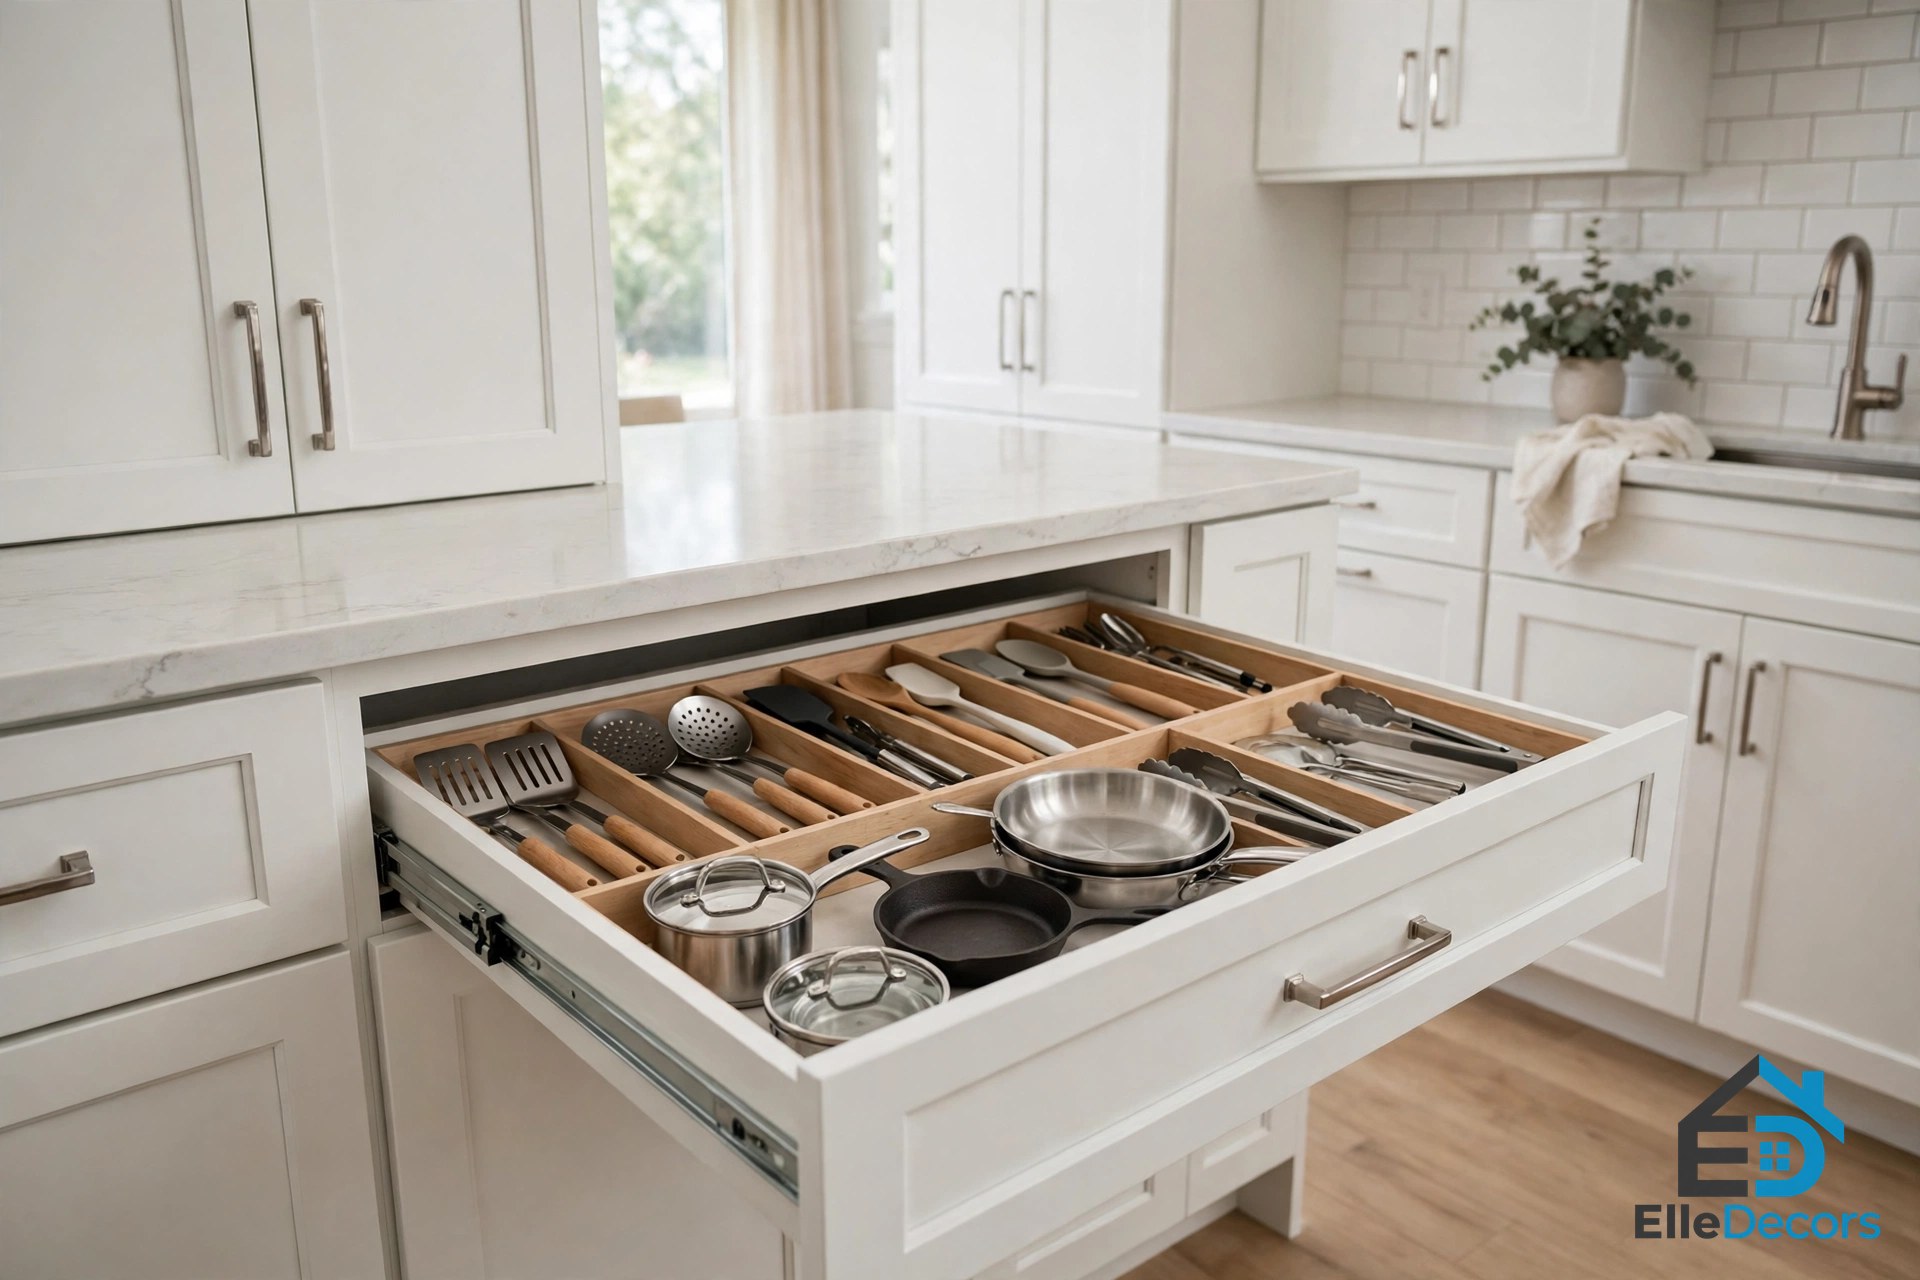
9. Hidden Storage That Pulls Double Duty
A small peninsula should work hard. Toe-kick drawers, flip-up countertop compartments, and slim pull-out shelves hide utensils, cleaning supplies, or pantry items in places you would normally overlook. Deep drawers on the kitchen side hold pots and gadgets, while the outer side can carry cookbooks or serving dishes.
Concealed storage is especially valuable in galley or apartment kitchens, where upper cabinet space is limited.
Best for: Small kitchens, apartments, galley layouts
Effort: Moderate — plan storage before ordering cabinets
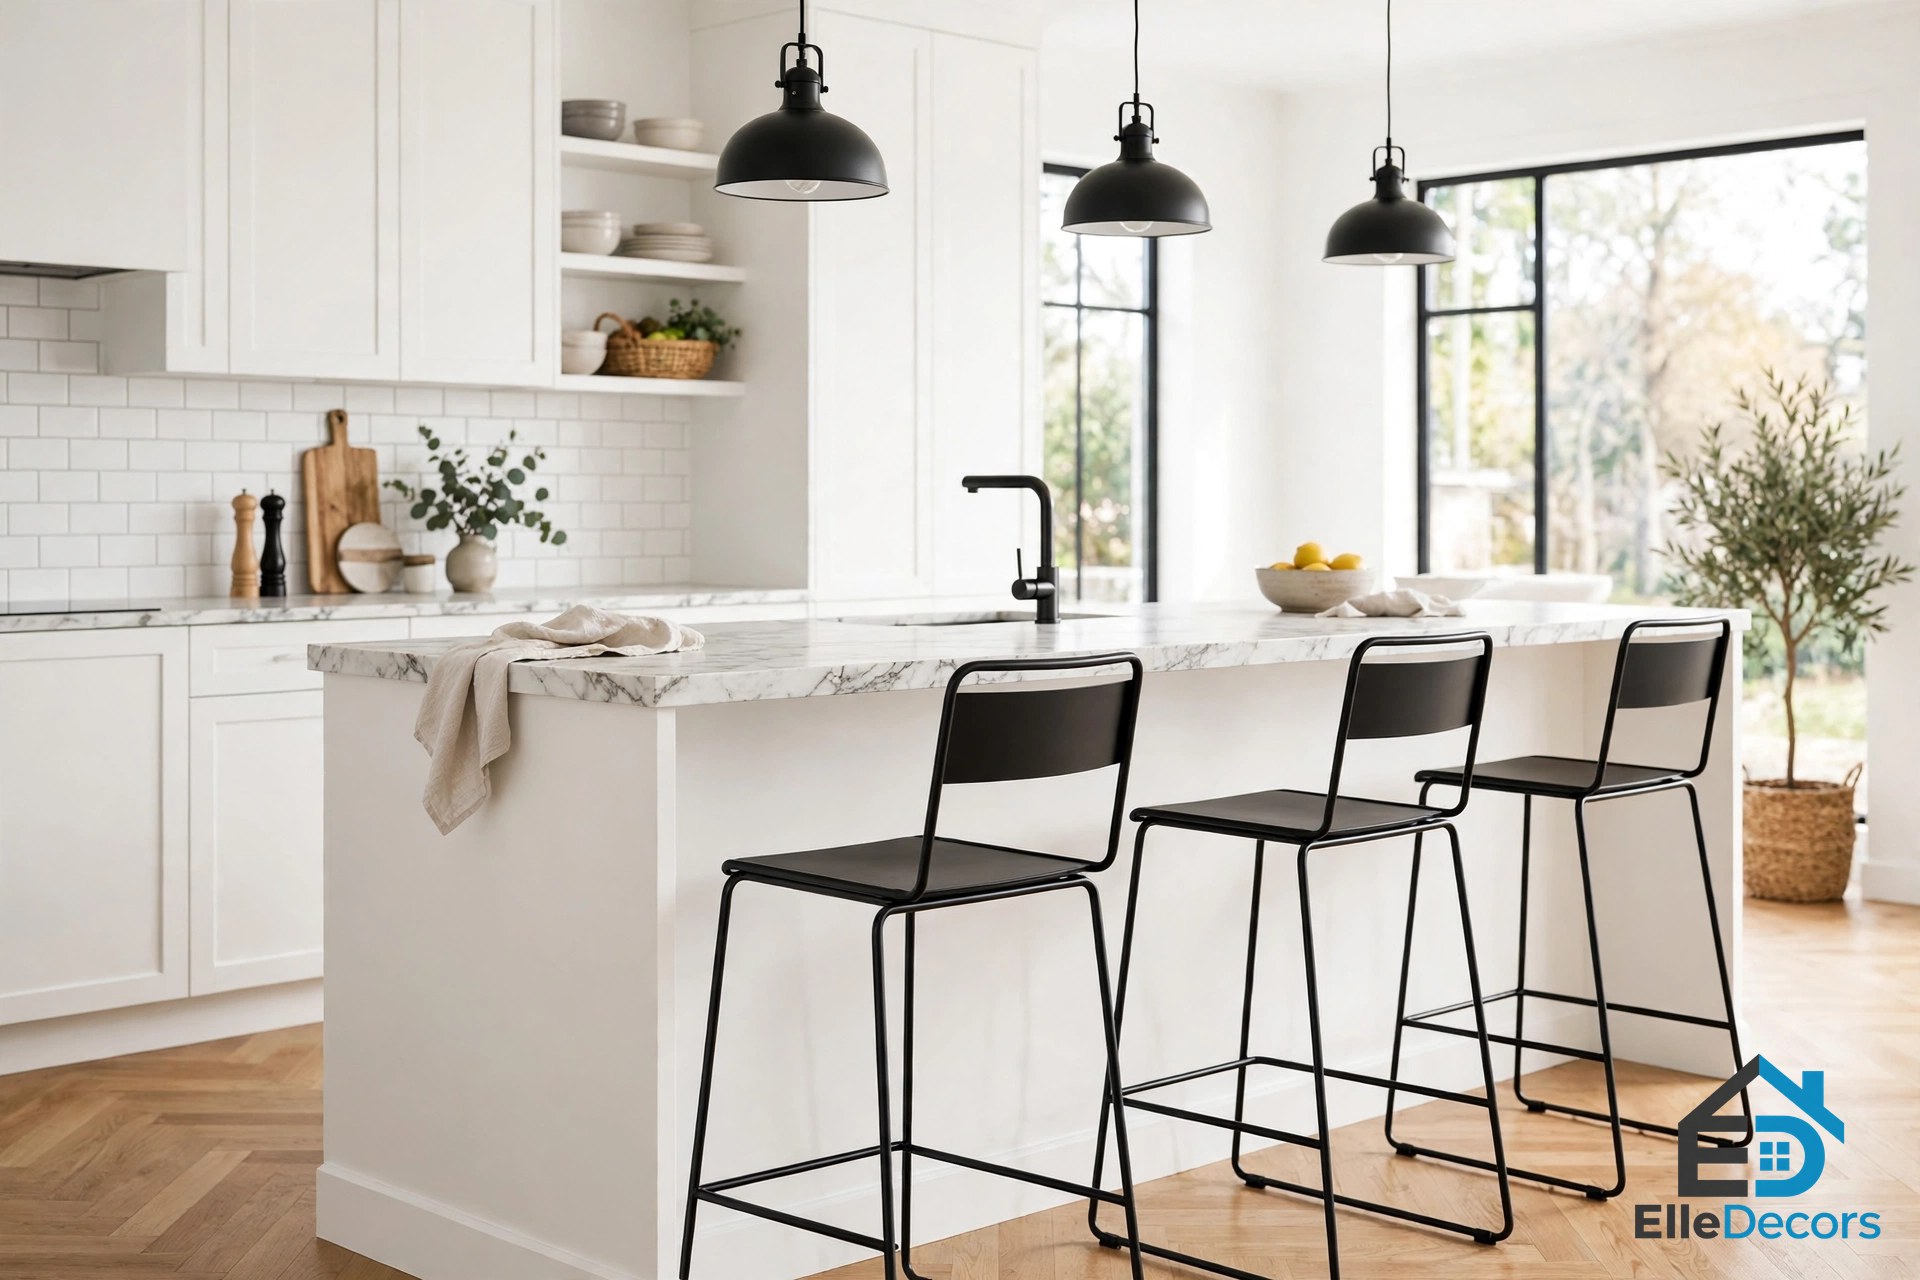
10. Contrast Seating and Statement Stools
Seating is what turns a kitchen peninsula from a worktop into a gathering spot, and it does not have to match everything else. Bold black metal stools against white cabinetry, colourful fabric seats in a neutral kitchen, or sculptural wooden designs all add personality and mark the eating area off from the prep zone.
Choose stools that are easy to clean and comfortable, and do not be afraid to mix textures. Slim profiles with open bases suit small kitchens best, and in a rental, standout stools are the fastest way to make the peninsula feel personal.
Best for: Any kitchen, rentals, neutral colour schemes
Effort: Easy
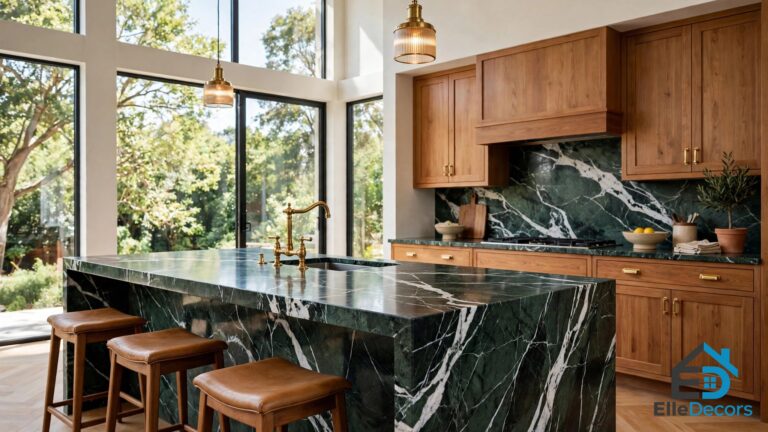
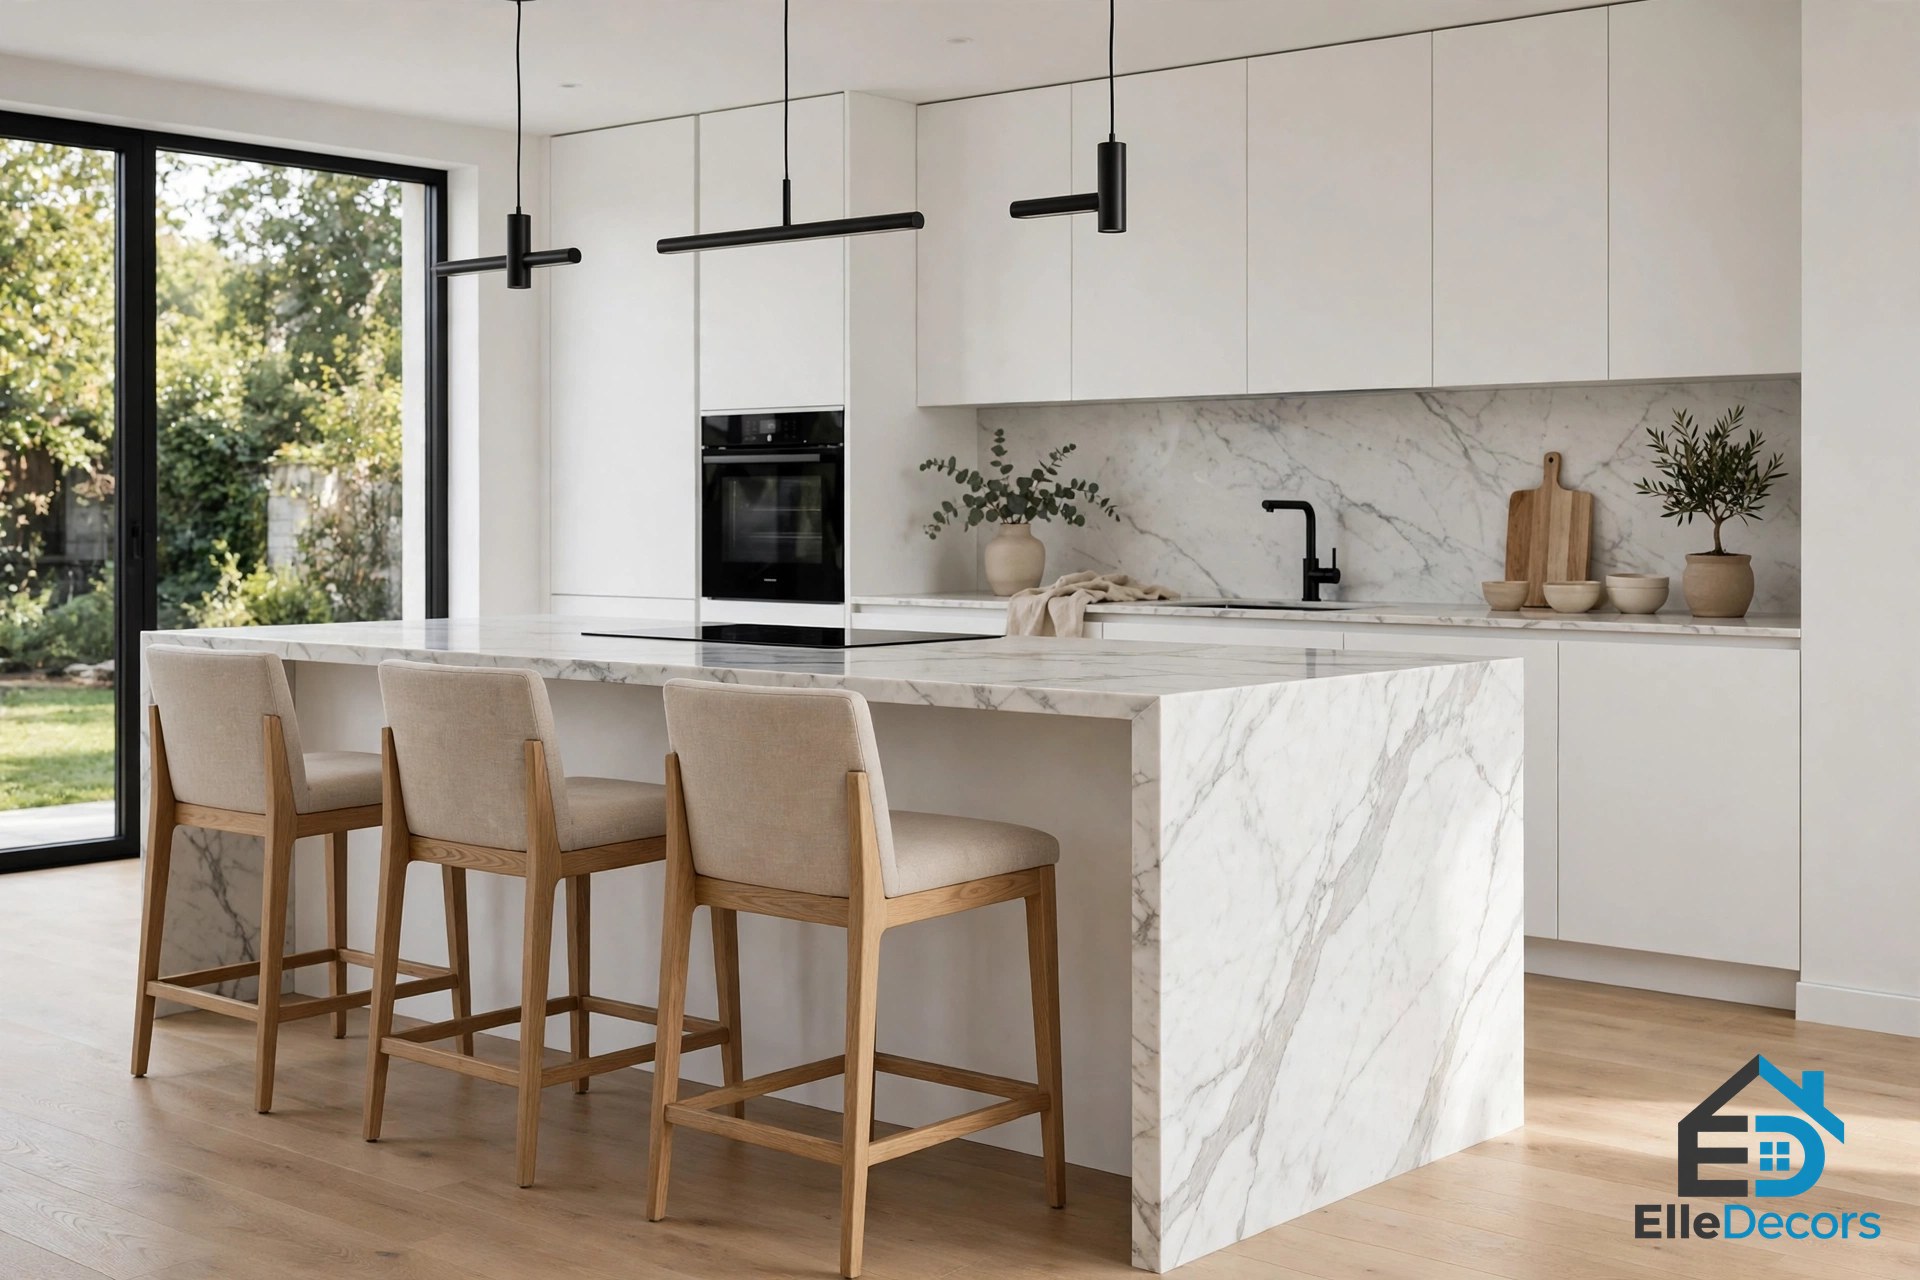
11. Waterfall Countertop Peninsula
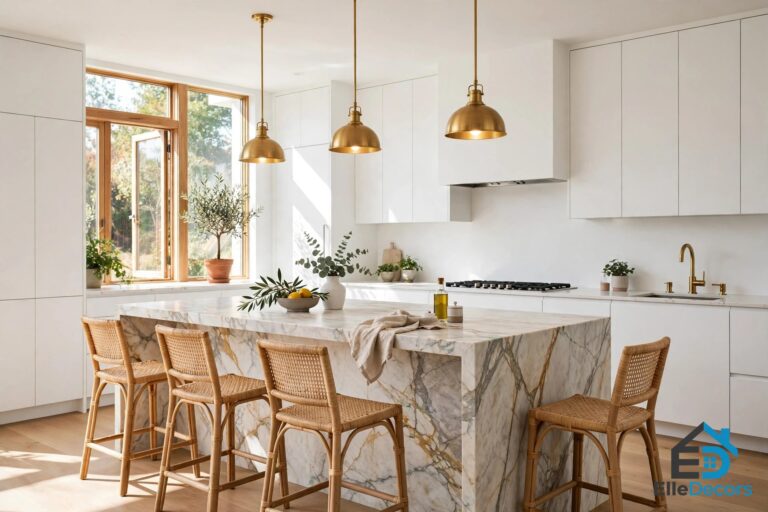
A waterfall countertop flows down the side of the peninsula to the floor, creating one sleek, continuous surface. The stone edge protects the cabinetry from wear and gives the peninsula a clean, finished look from the living or dining side, where it is most visible.
This detail grounds the kitchen much like an island does, without needing as much clearance. A marble-look top suits the style well; for ideas on working that stone through the rest of the room, see our guide to rich colored marble kitchen trends.
Best for: Modern kitchens, open plans, small rooms
Effort: Moderate to hard — stone work is a pro job
12. Breakfast Bar with Pendant Lighting
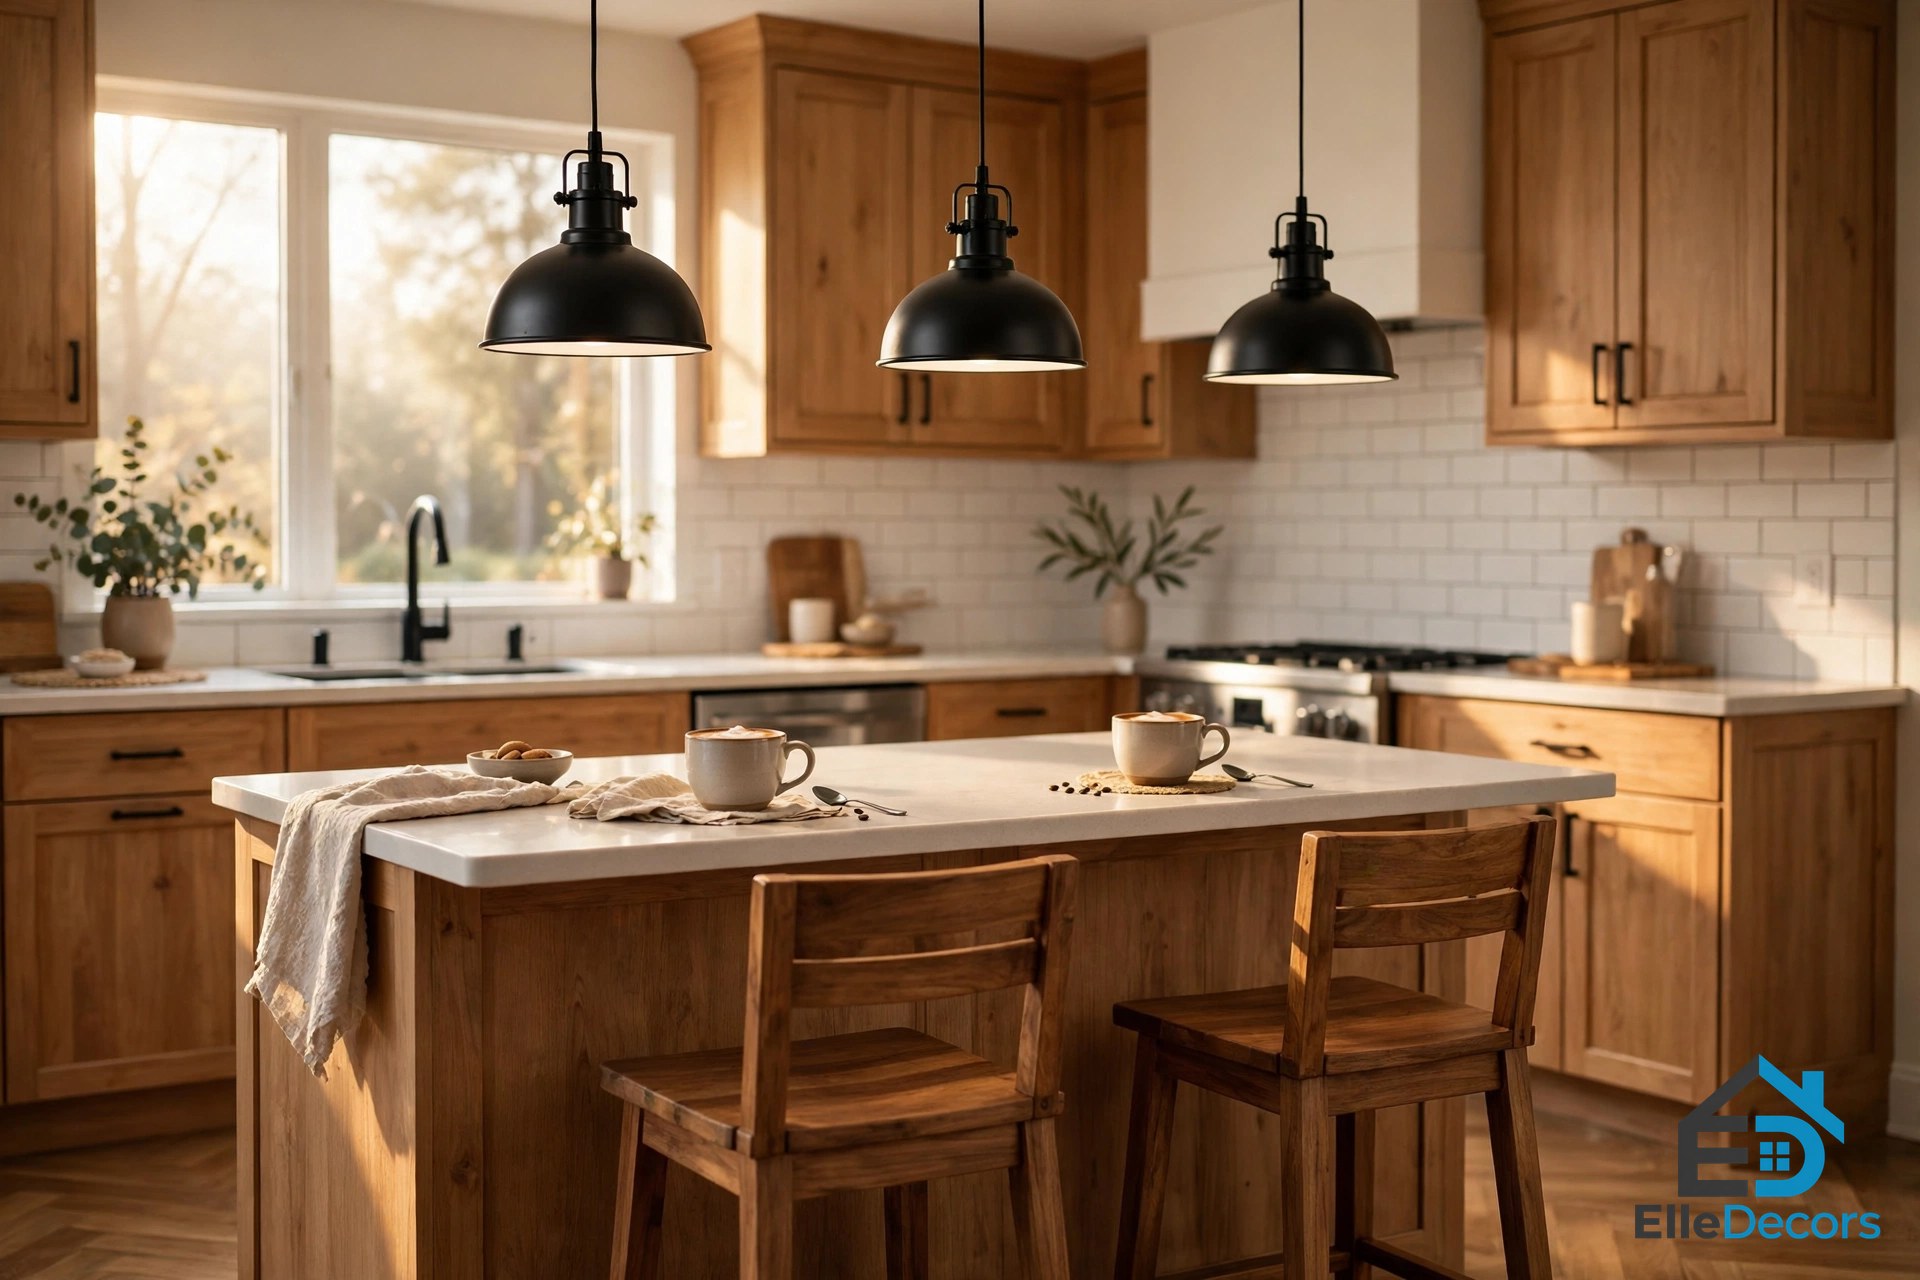
A breakfast bar peninsula with pendant lights blends form and function in one move. The overhang gives you casual seating and extra prep space, while the pendants above provide task lighting and mark the space as a dining spot in its own right.
Hang the pendants 30 to 36 inches above the counter so they light the work surface without blocking sightlines. This setup suits families and busy households that eat quick meals in the kitchen.
Best for: Families, small homes, casual dining
Effort: Easy to moderate
Planning a Kitchen Peninsula: Size, Clearance, and Seating
A typical kitchen peninsula runs 60 to 90 inches long, with a depth near the standard counter depth of about 25.5 inches. Before you order cabinets, measure the room and walk the route: you need clear passage on all three open sides, and the walkway behind the seating should stay free for traffic into the next room.
Overhang and knee space. Plan at least 12 inches of overhang for comfortable seating. At counter height, around 36 inches, allow 15 inches of knee space. At bar height, around 42 inches, 12 inches of knee space works. Counter stools suit surfaces 34 to 39 inches high, while bar stools fit 42-inch counters.
Appliances, outlets, and plumbing. Decide early whether the peninsula will hold a sink, cooktop, microwave, or fridge, because plumbing and power are far easier to plan before cabinets are ordered. A sink or cooktop in the peninsula lets the cook face the living area while working, which keeps the social side of the kitchen intact. Add outlets for small appliances too, and check local electrical rules before you build.
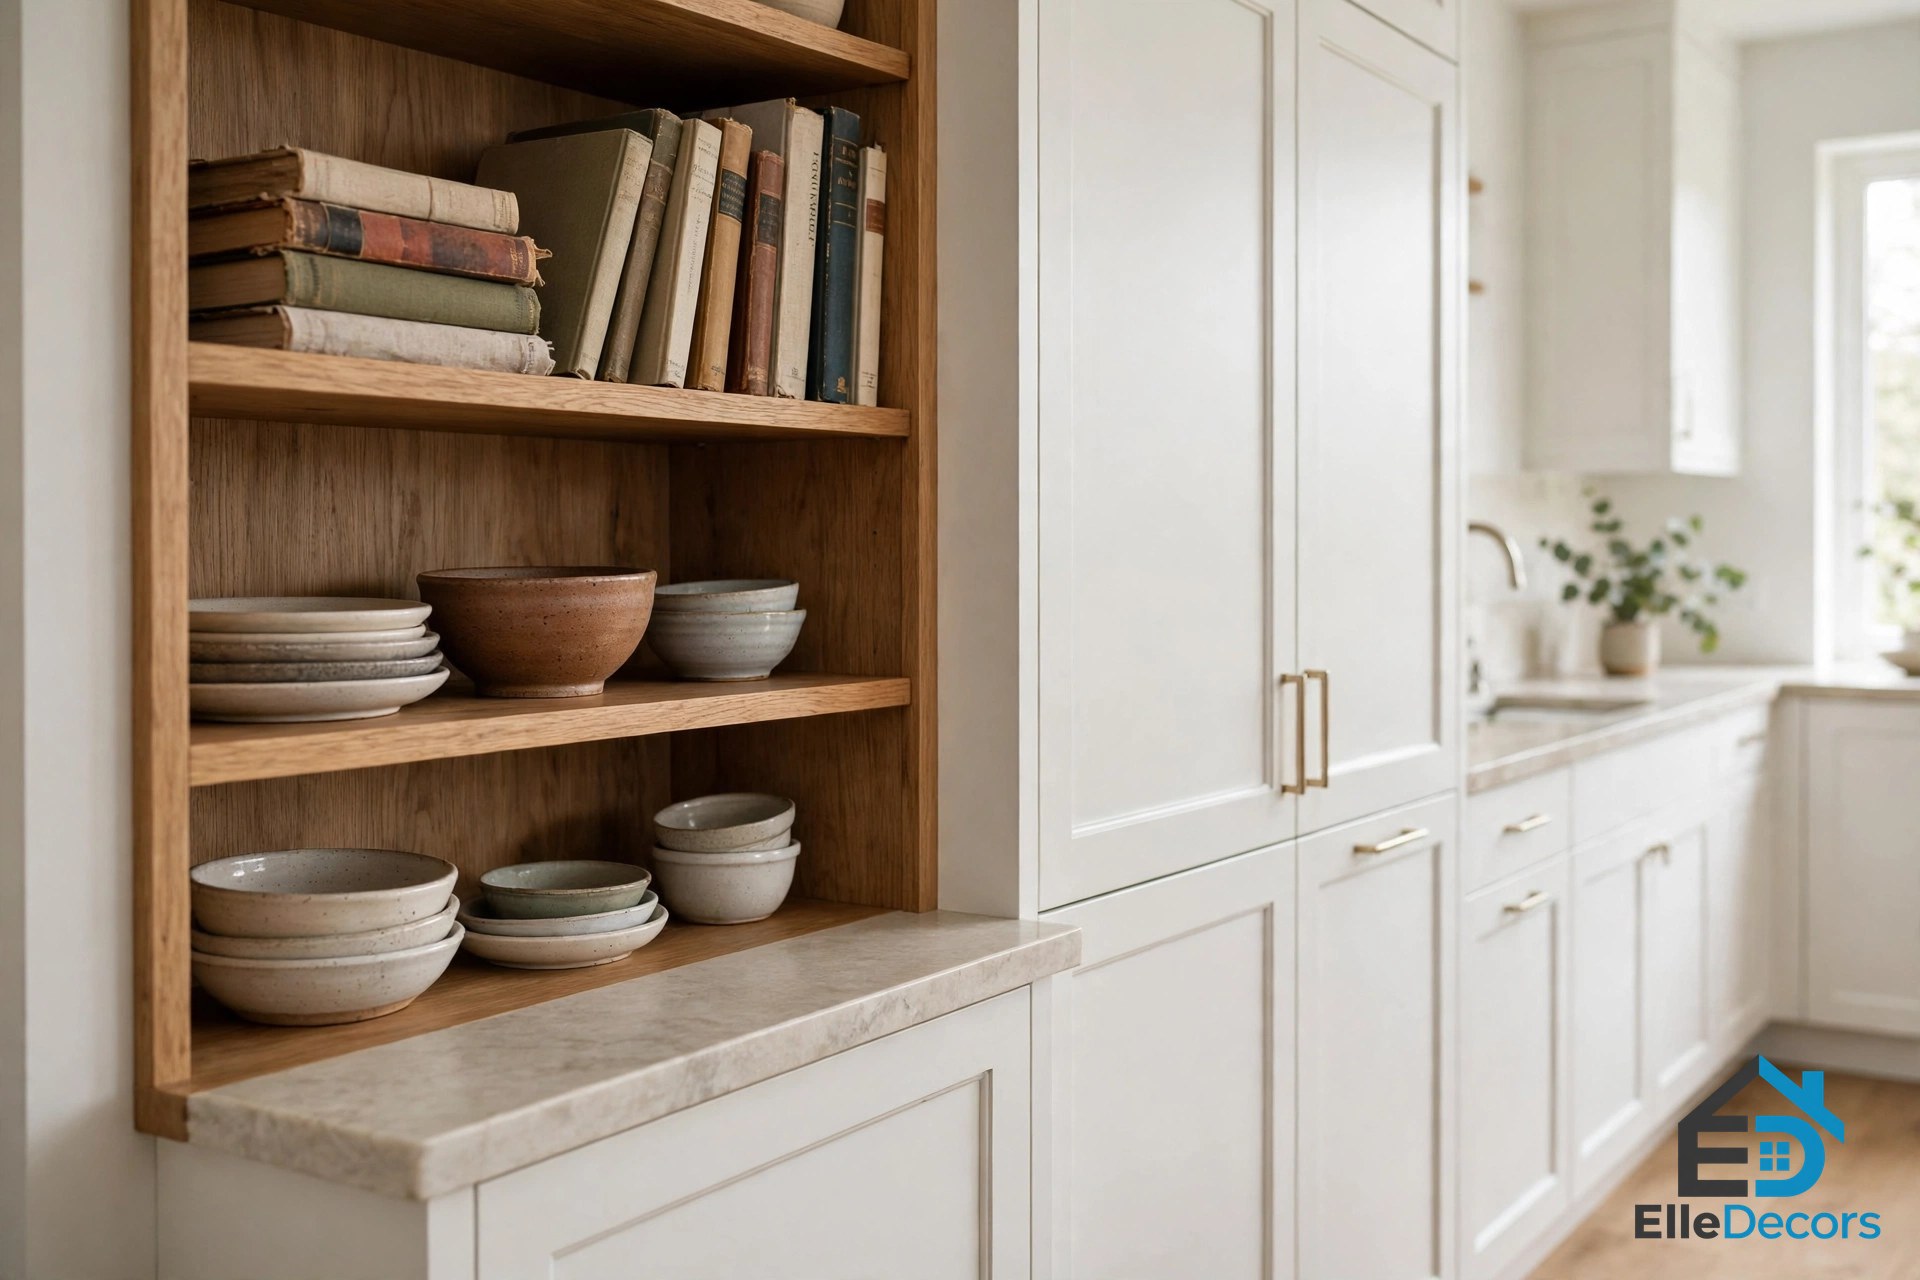
Side storage and open-end bookshelves. The exposed end of a peninsula is valuable real estate. Open-end bookshelves turn it into a home for cookbooks, display dishware, or a few decorative pieces, and closed side cabinets tuck away clutter. Either option beats a blank panel, and both work well in compact rooms where an island would need more clearance.
Lighting and finish. Pendant lights above the peninsula define the area and give task light where you need it. A contrasting base colour, a shiplap or tiled face, or a curved edge makes the feature feel designed rather than added on, and rounded edges help traffic flow.
Mistakes to Avoid
- Skipping the measurements. A peninsula that is too long chokes the walkway, and one that is too short wastes the room. Measure the length, the depth, and the clearance on all three sides before you order.
- Forgetting the overhang. A counter with no knee space is a shelf, not a seat. Plan 12 inches of overhang at minimum, and 15 inches at counter height.
- Putting plumbing in last. Sinks and cooktops need water, waste, and power routed before cabinets go in. Decide early or pay to redo the work.
- Blocking the work triangle. Keep the path between sink, stove, and fridge clear. A peninsula should tighten that triangle, not cut across it.
- Matching everything. A peninsula in the exact same finish as every cabinet can look flat. A little contrast in colour, material, or seating brings it to life.
- Overloading the top. A floating or two-tiered peninsula looks best with a clear surface. Store the clutter inside, not on the counter.
Frequently Asked Questions
What is the difference between a kitchen peninsula and an island?
An island stands alone with open floor on all four sides. A peninsula is attached to a wall or a run of cabinets at one end, so it needs clearance on only three sides. That single connection makes it the better fit for smaller kitchens, since it gives you island-style counter space, storage, and seating in less floor area.
How long should a peninsula be?
Most peninsulas run 60 to 90 inches long, with a depth near the standard counter depth of about 25.5 inches. The right length depends on your room: leave enough clearance on all three open sides for people to walk past, and room behind the seating for traffic into the next room. A G-shaped layout with a peninsula generally needs a room of at least 10 by 10 feet to work well.
Can a peninsula hold a sink or a cooktop?
Yes. A sink or cooktop in the peninsula creates a sociable cooking setup, since you face the living area while you work. Plan the plumbing and power before the cabinets are ordered, and keep the work triangle in mind so the sink, stove, and fridge stay within easy reach of each other.
Do I need a permit or a professional?
A simple peninsula swap is often a manageable project, but anything that moves plumbing, gas, or electrical work usually needs a professional, and local rules may require a permit. Floating designs also need solid fixing. When in doubt, ask a local contractor before you start.
How do I style a peninsula in a small kitchen?
Keep the base light and the top clear. Slim stools that tuck fully underneath, open shelving instead of closed cabinets on the outer side, and one strong detail — a pendant light, a contrasting base colour, or a waterfall edge — will make a small peninsula feel designed rather than crowded.
The Bottom Line
A kitchen peninsula is the island alternative that asks for less room and gives back nearly as much. It adds counter space where you prep, storage where you need it, and seats where people actually gather, all while drawing a gentle line between the kitchen and the rest of the home.
Start with the shape that fits your room — U-shaped for a snug work triangle, L-shaped for flexibility, floating for a light touch — then add one storage trick and one styling detail. Measure twice, plan the plumbing and outlets early, and leave the walkways clear.